
Advanced edging system
designed to be seen
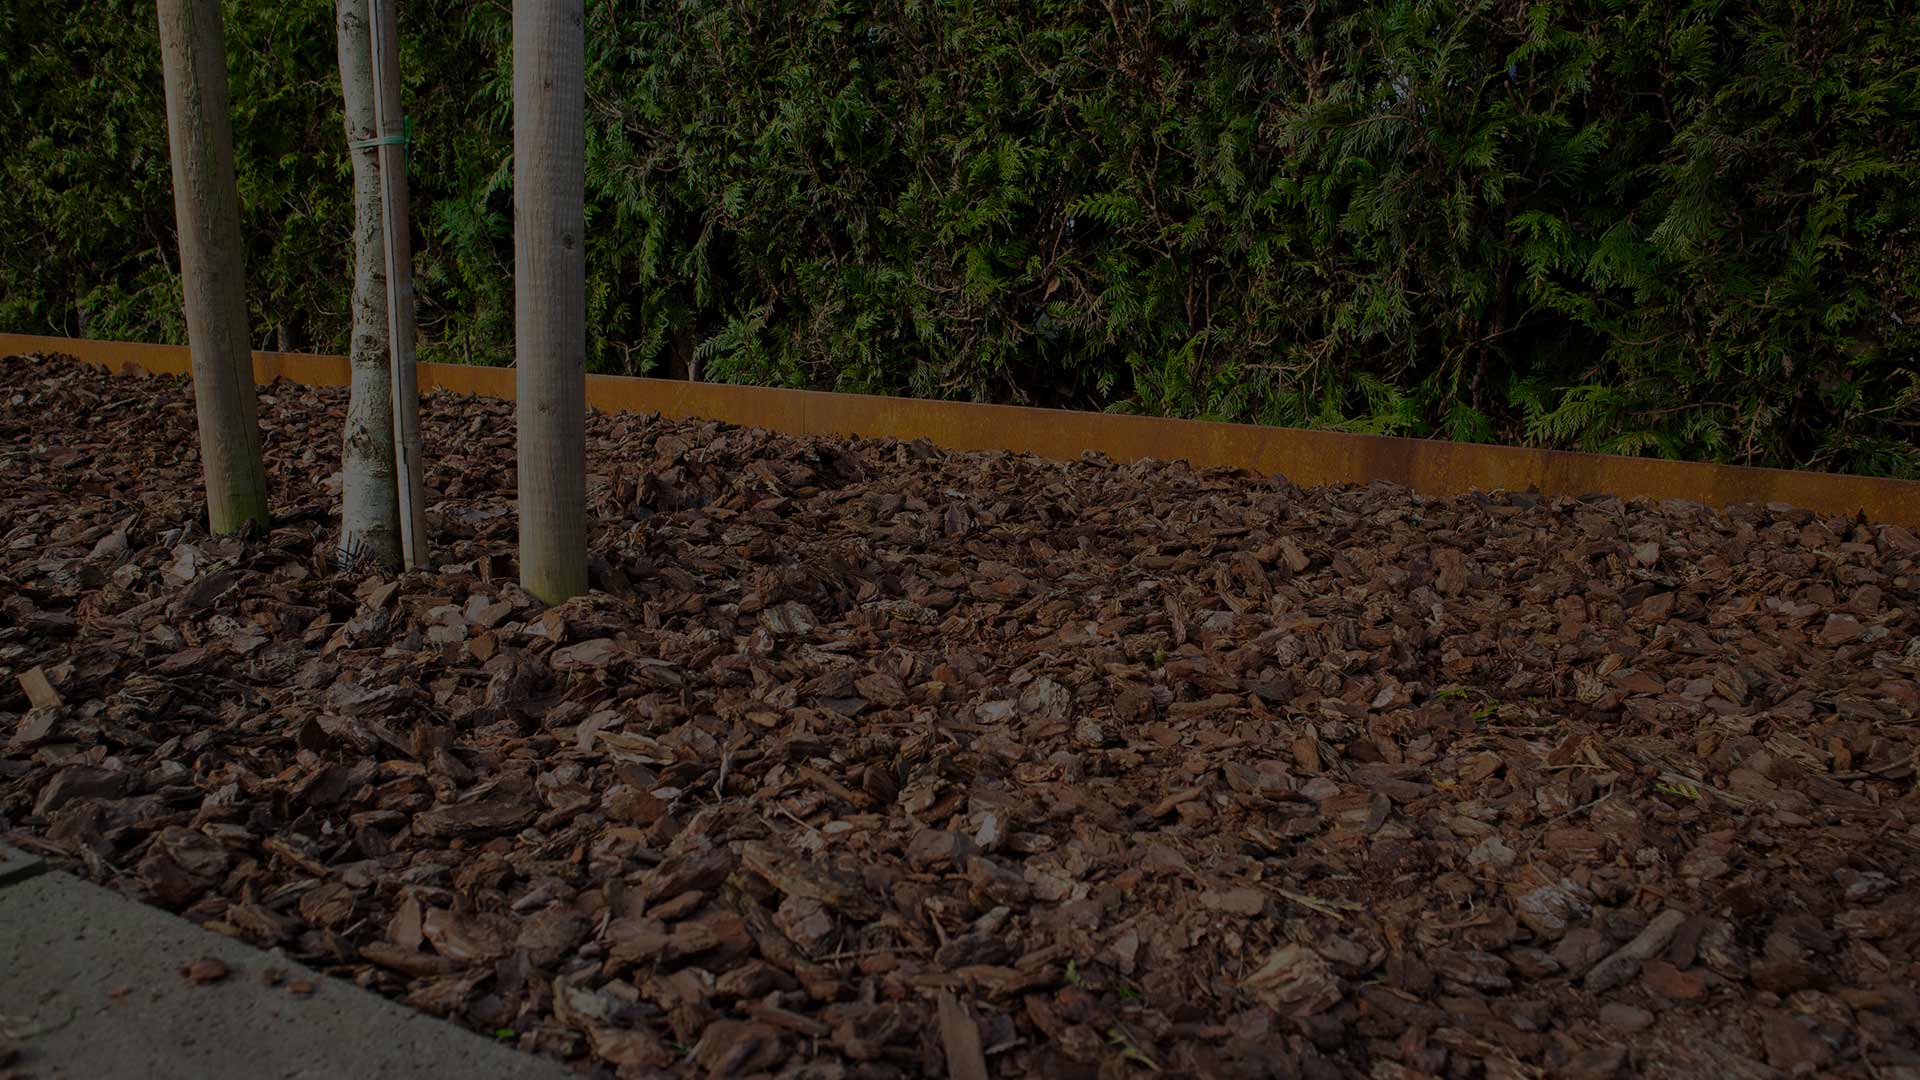
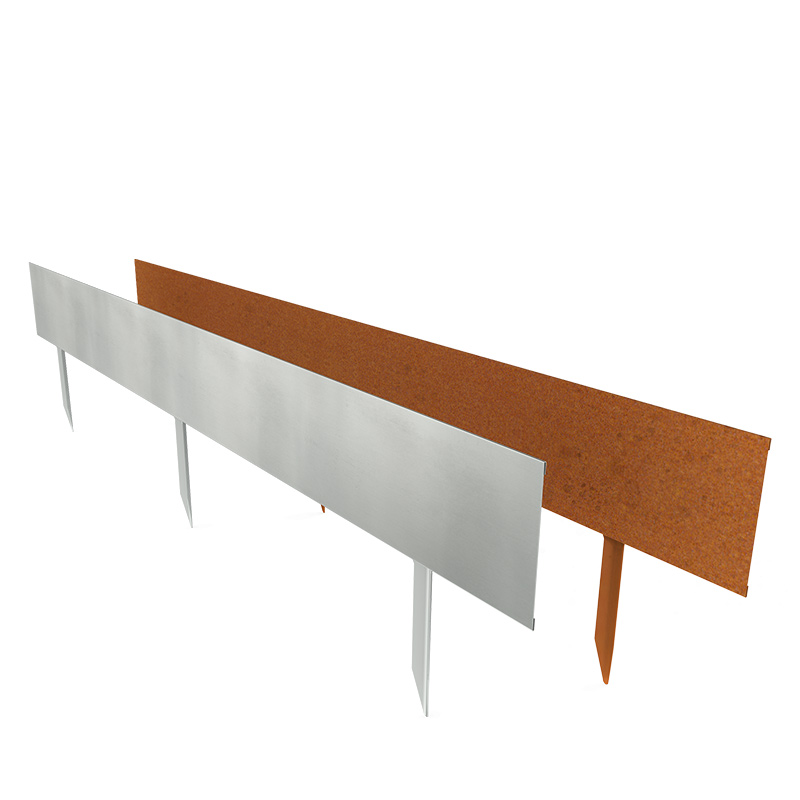
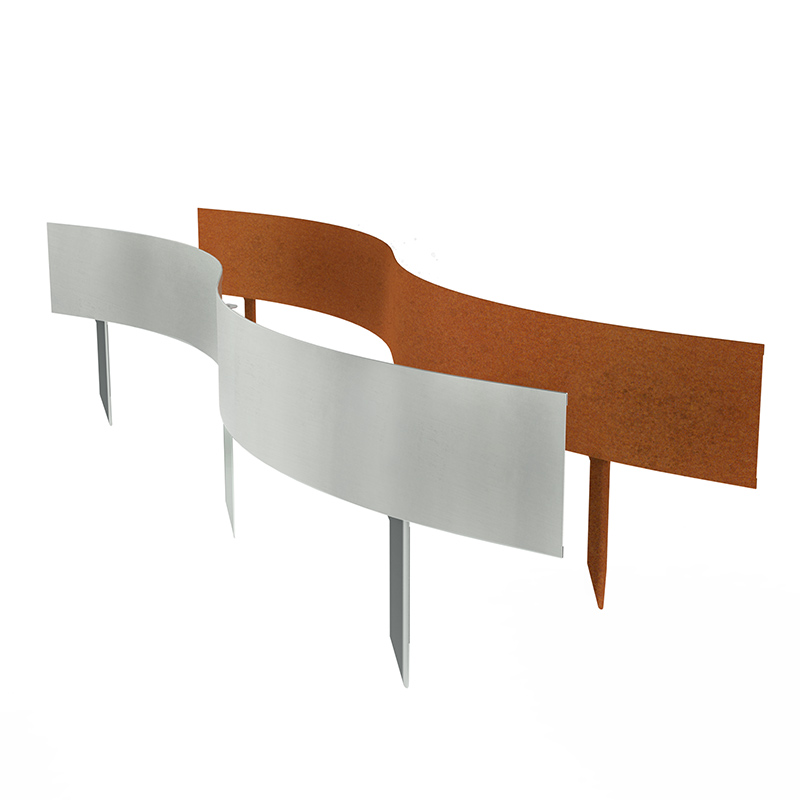
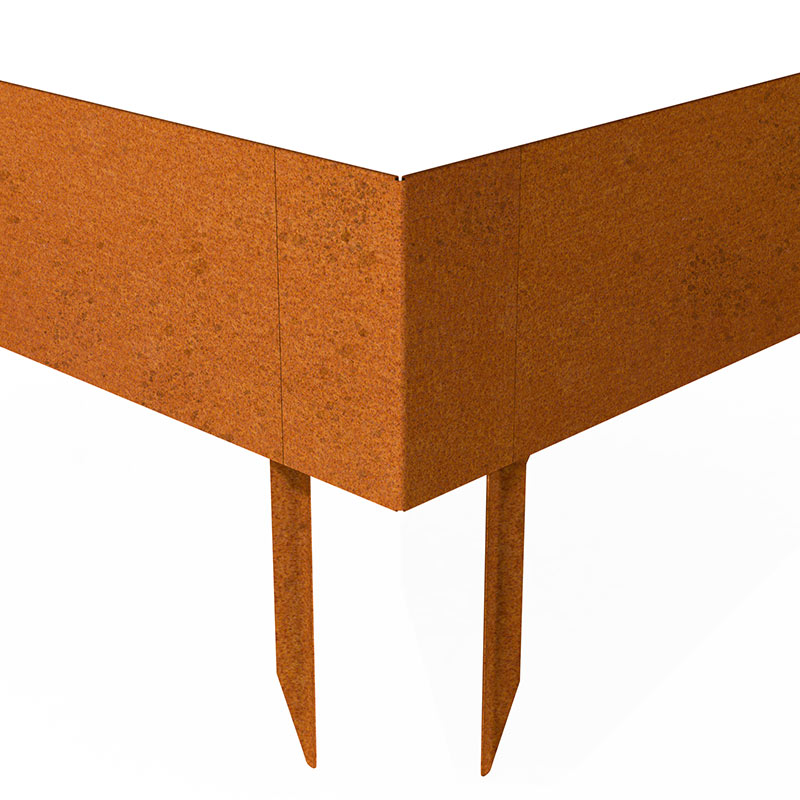
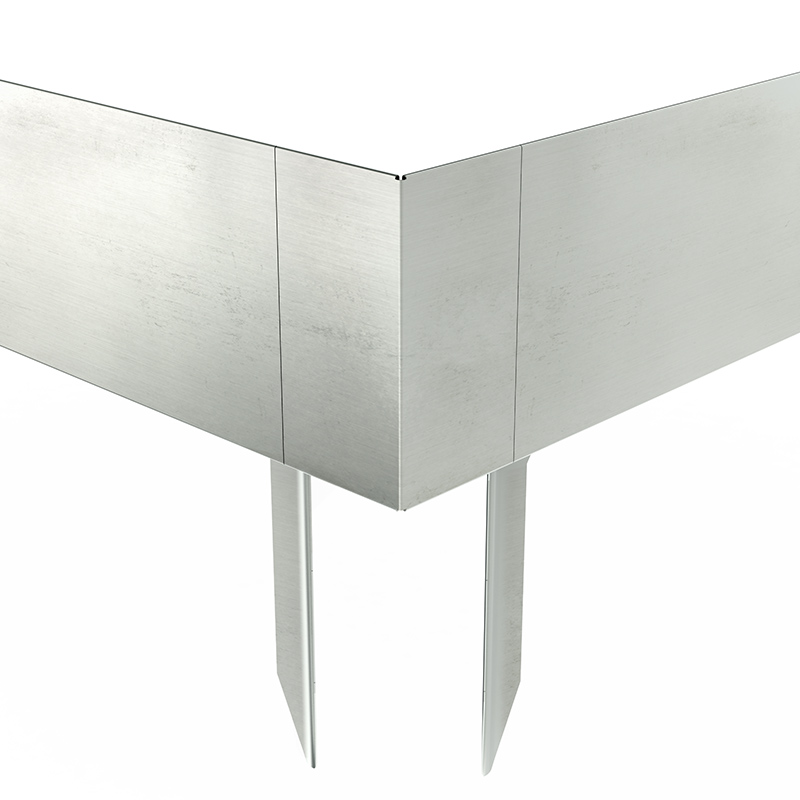
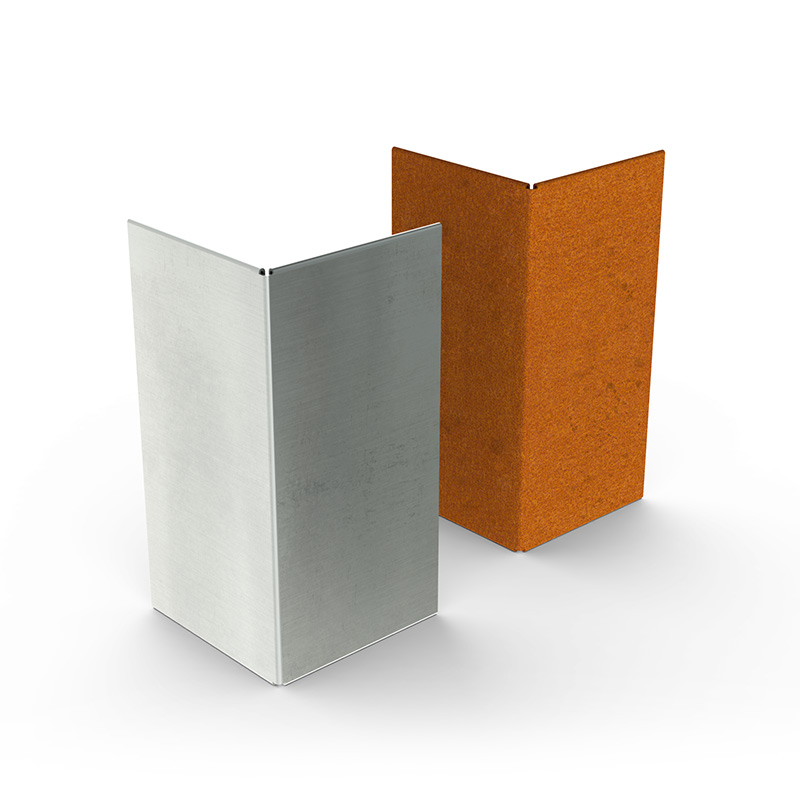
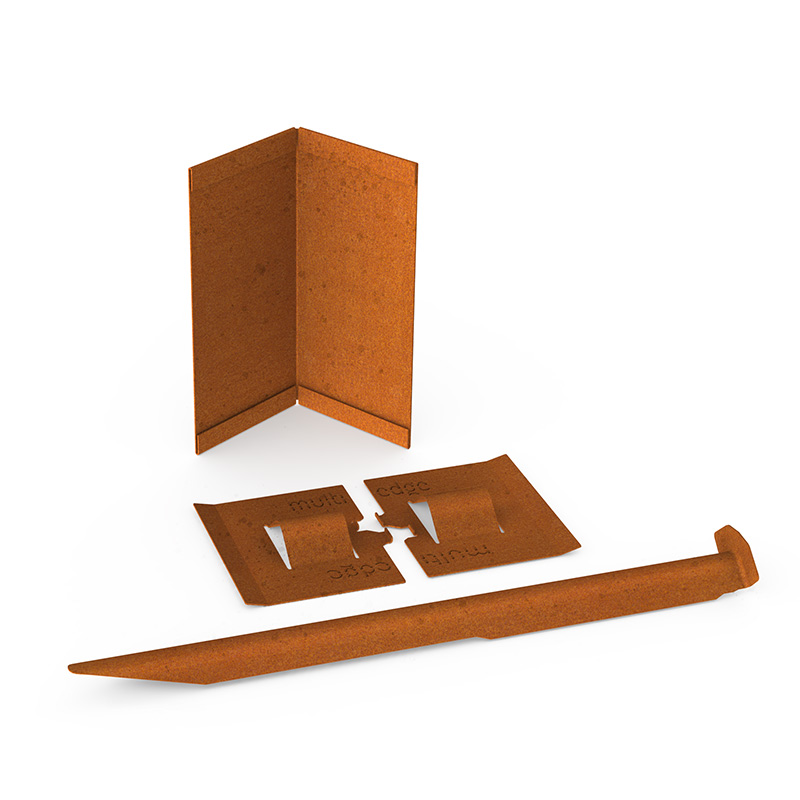
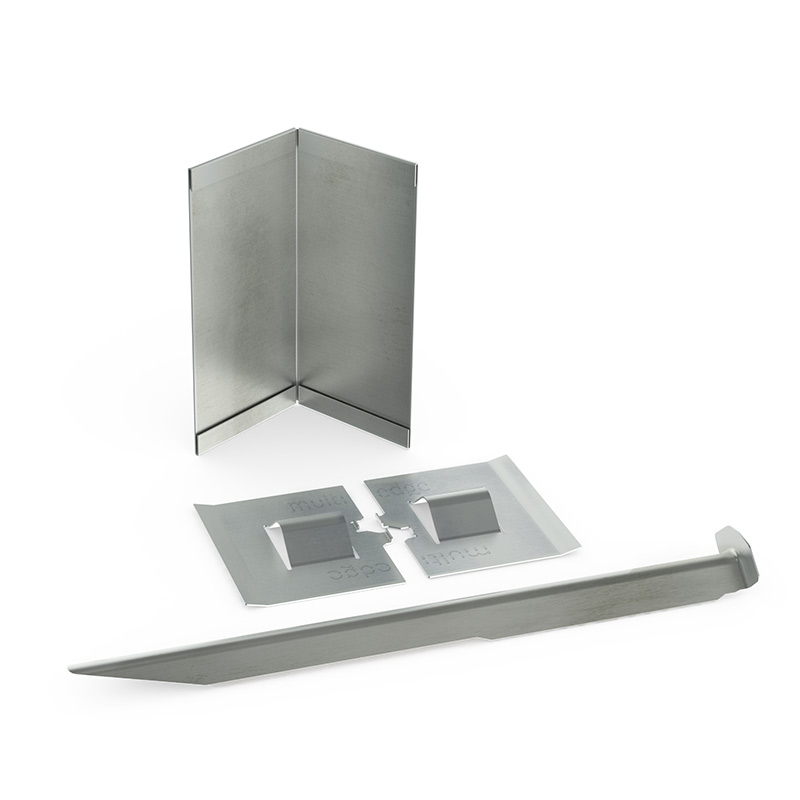
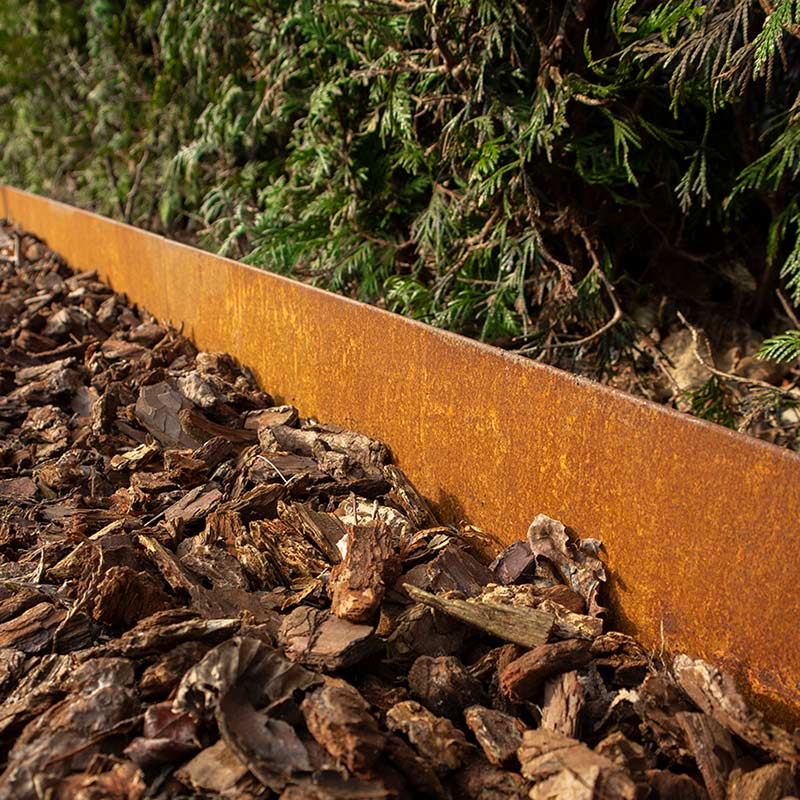
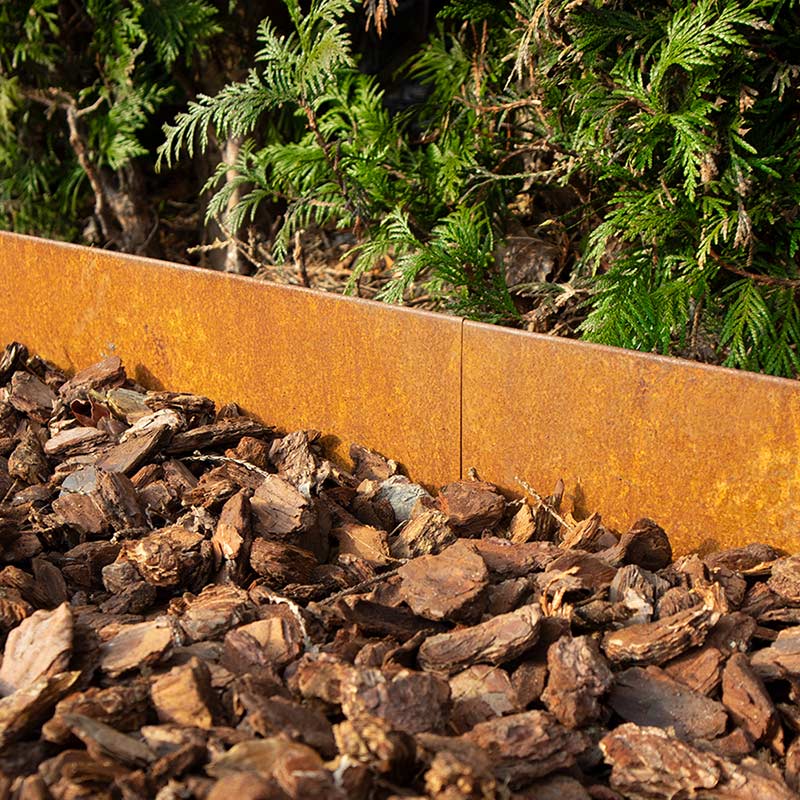
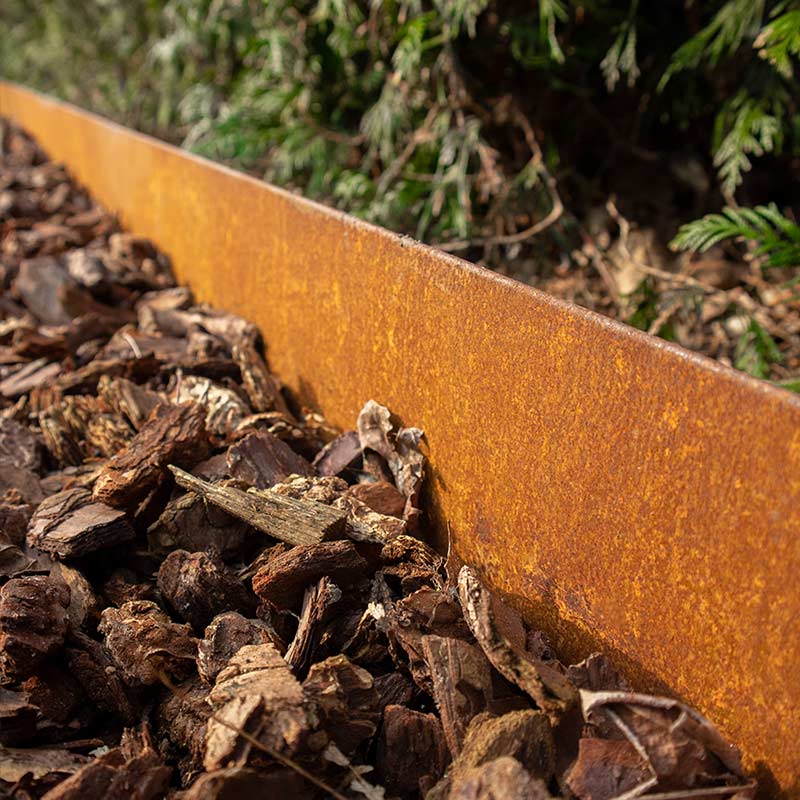
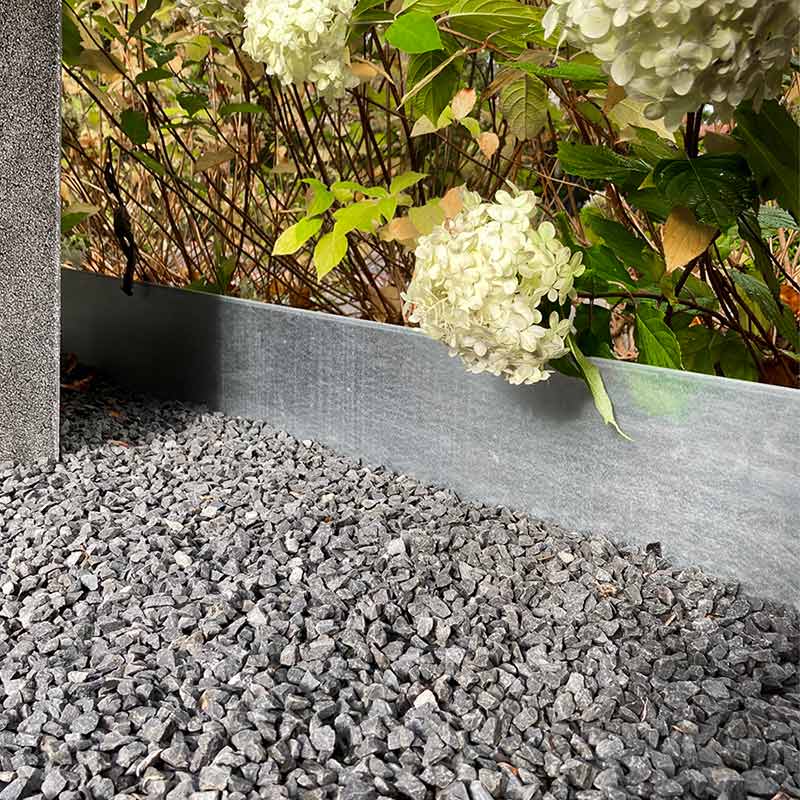
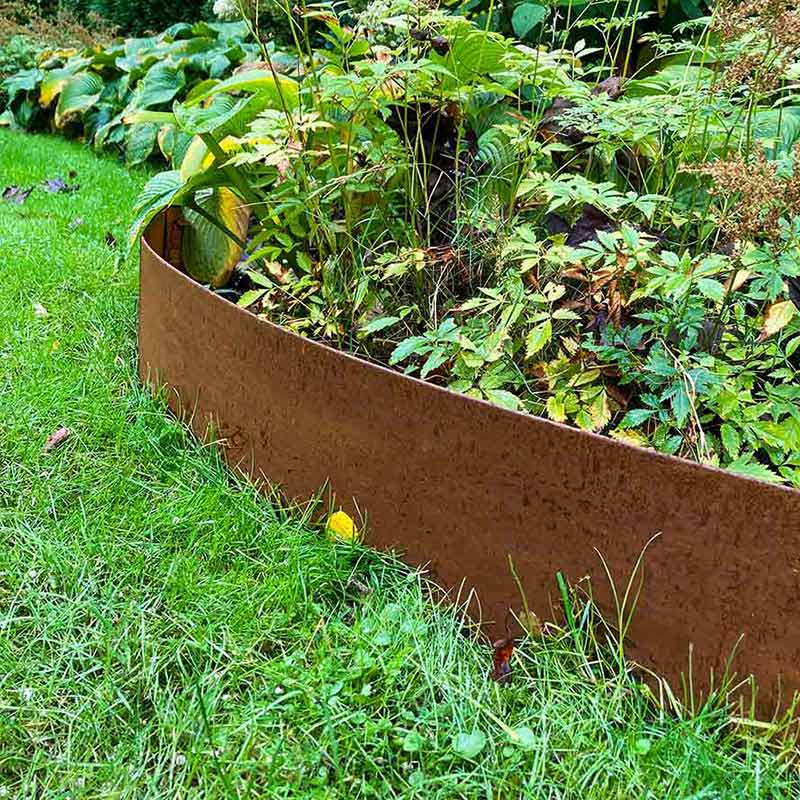
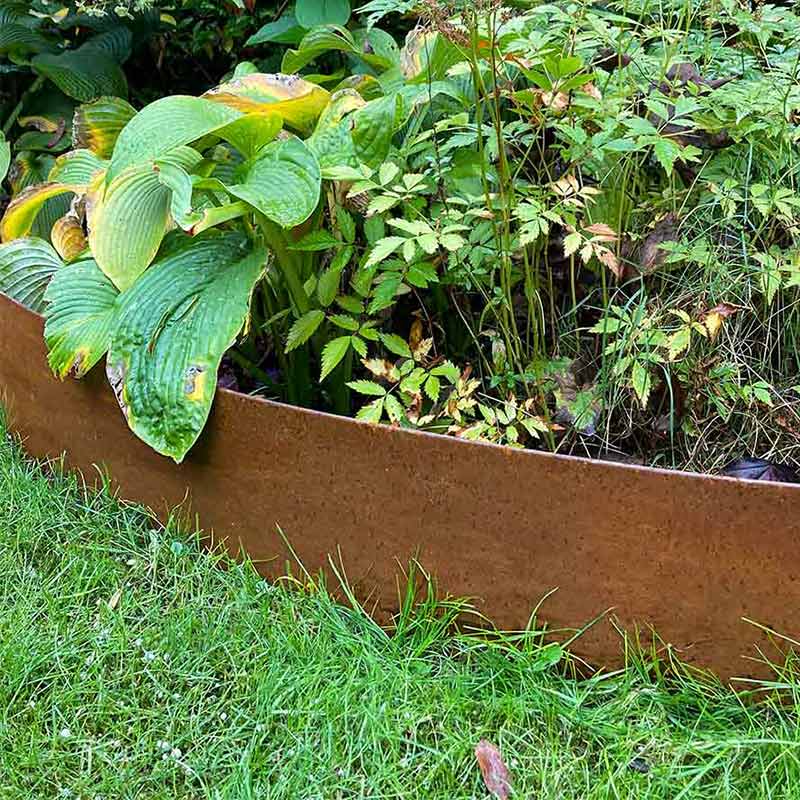
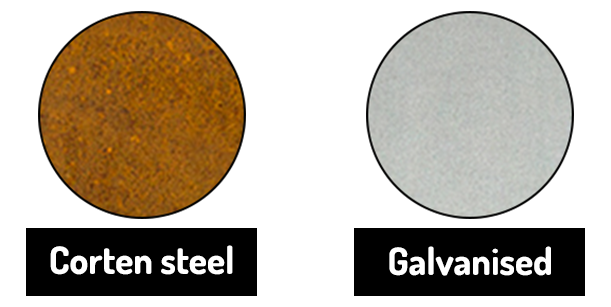
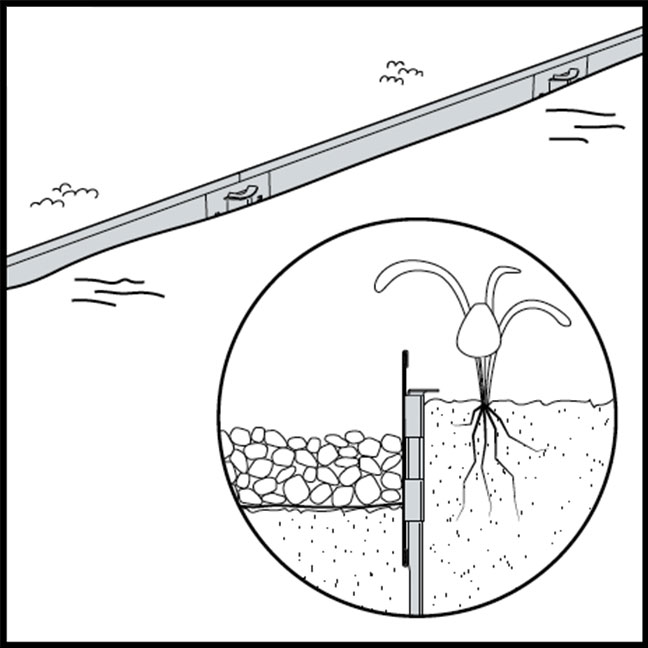
Multi-Edge ADVANCE is a high-quality edging system, in terms of quality, functionality and appearance. Multi-Edge ADVANCE is available in two versions (Corten Steel and galvanised). These finishes ensure that the edging will last for many years. Multi-Edge ADVANCE segments are 1 mm thick and have a 3 mm fold on the top and bottom, giving the system a solid feel and ensuring that the profiles are still easy to install if they have been bent to form a curved shape. Multi-Edge ADVANCE also has a unique interconnecting system: the individual profiles are attached using connector strips. The entire system is then secured with the help of a fixing stake, creating a smooth, virtually invisible transition between the individual profiles. Special corner pieces are available to create neat angles (90°). The used materials and the fold on the top and bottom give a stable, solid and robust feel. The unique feature of Multi-Edge ADVANCE is that neither the connector strips nor the fixing stake can be seen on the visible side. The smart interconnecting system ensures that the transition between the profiles is virtually invisible. The edging is 20 cm high.
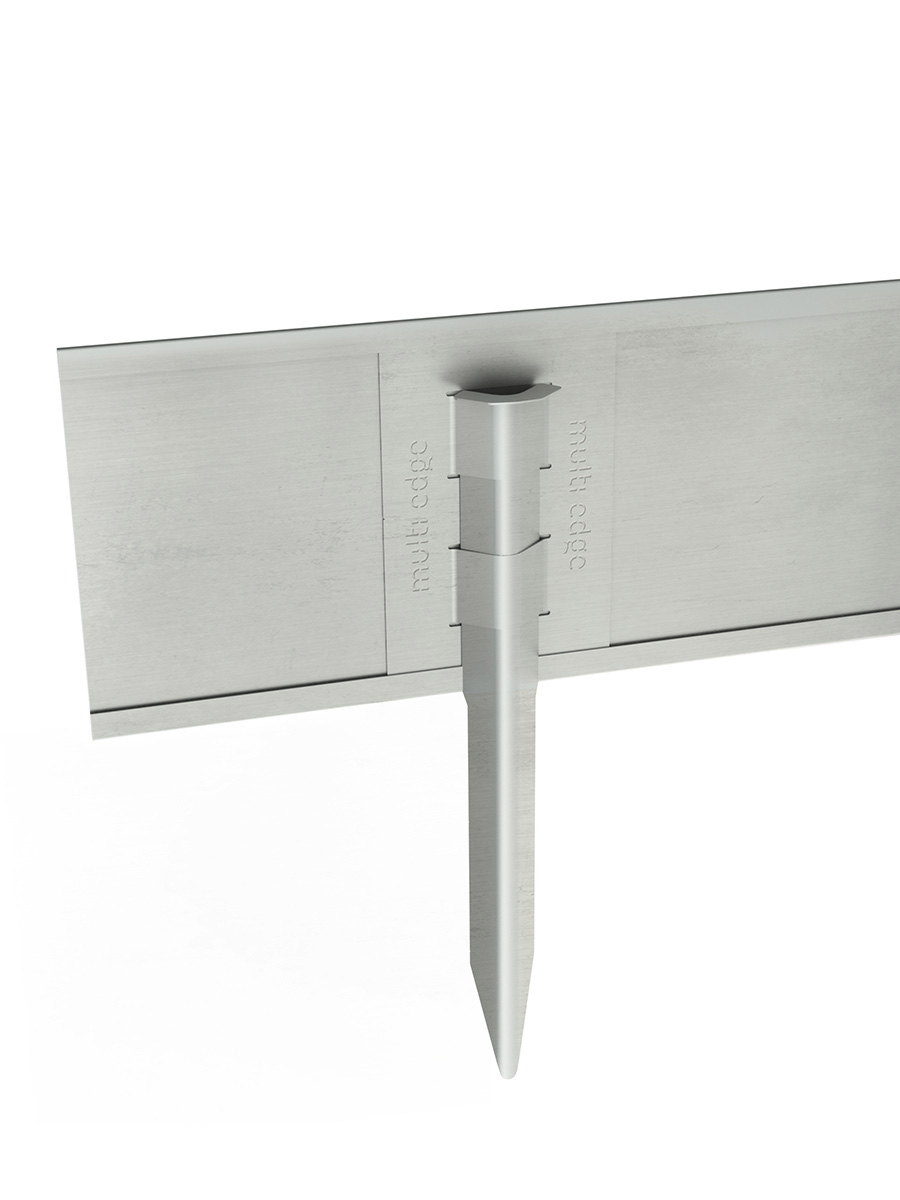
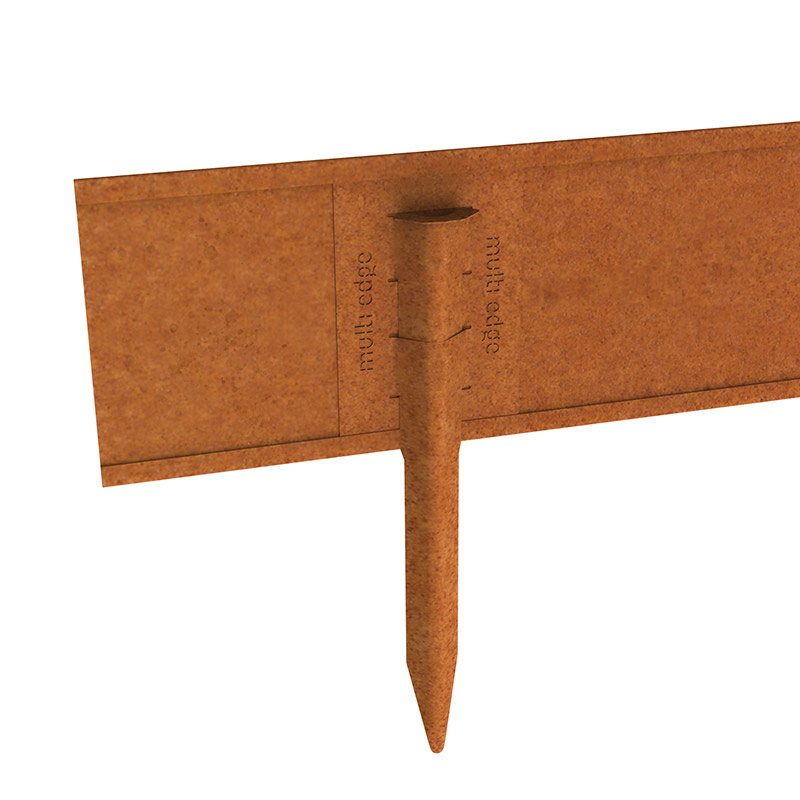
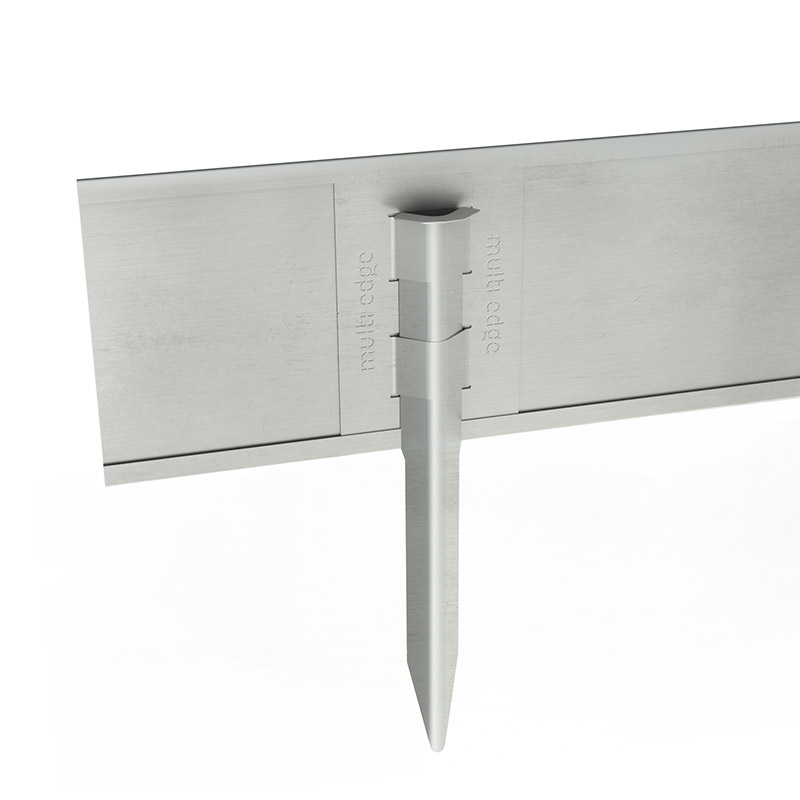
Unique interconnecting system
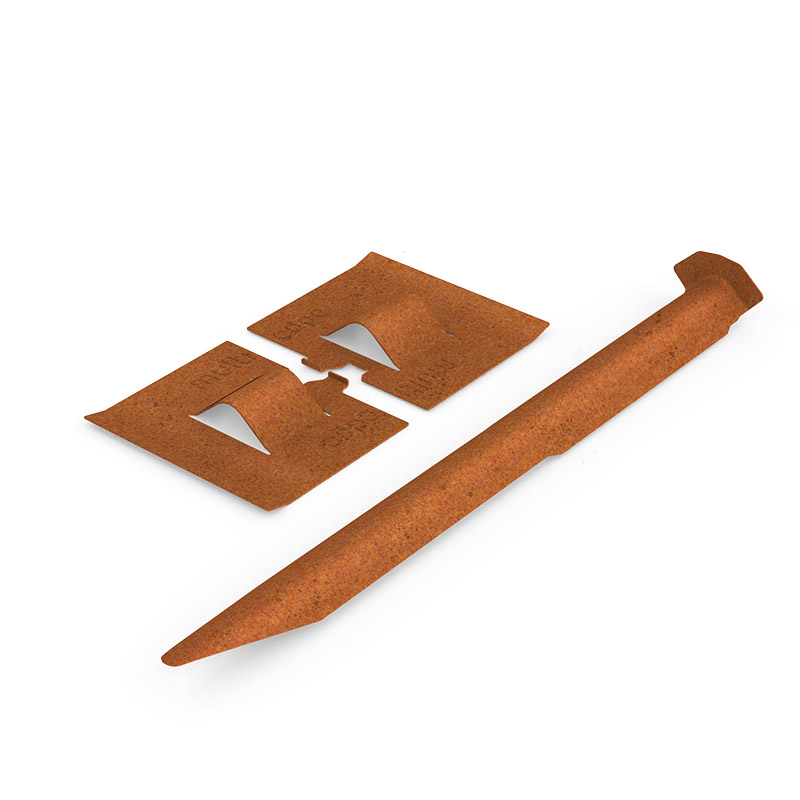
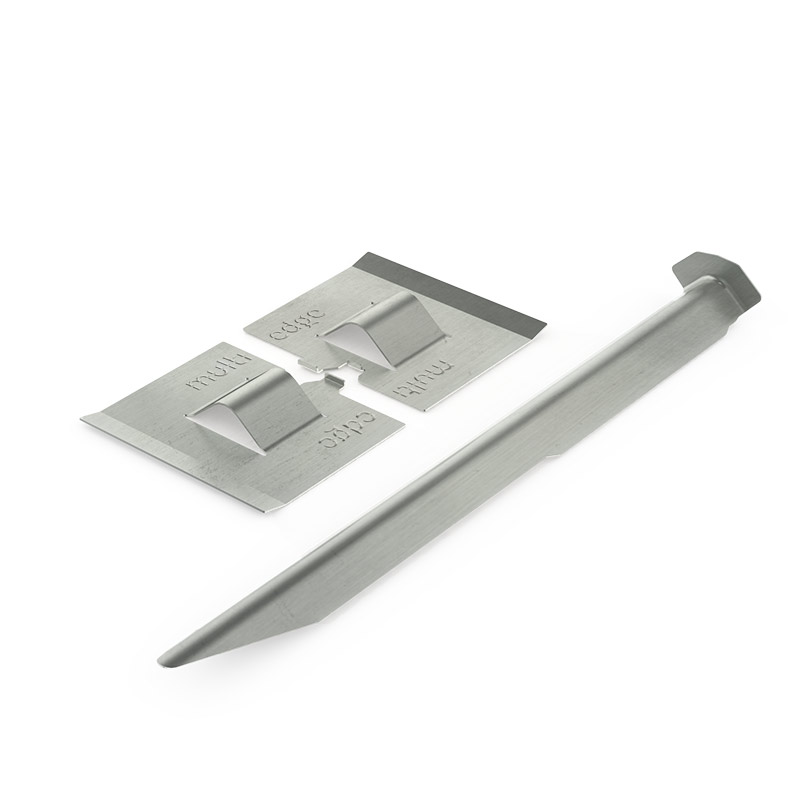
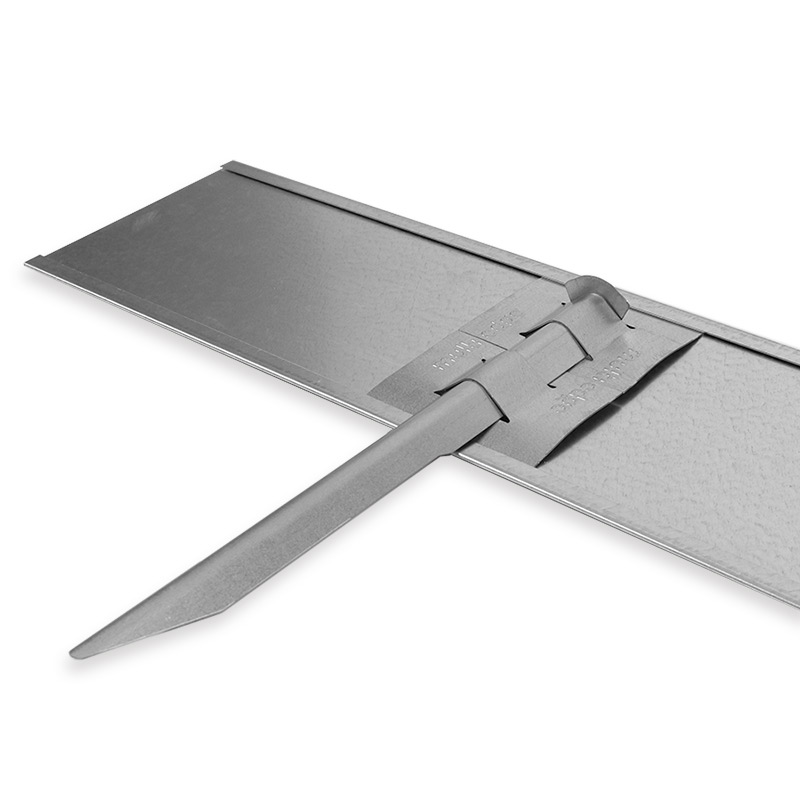
The individual profiles of Multi-Edge ADVANCE are attached together using a unique interconnecting system. The profiles include a fold on the top and bottom. Two connector strips can be slid onto the ends of each individual profile (one on the top and one on the bottom). See the photo on the left. The connector strips are attached together using a fixing stake. This fixing stake is also used to secure the entire system in the ground.
Multi-Edge ADVANCE
Specifications:
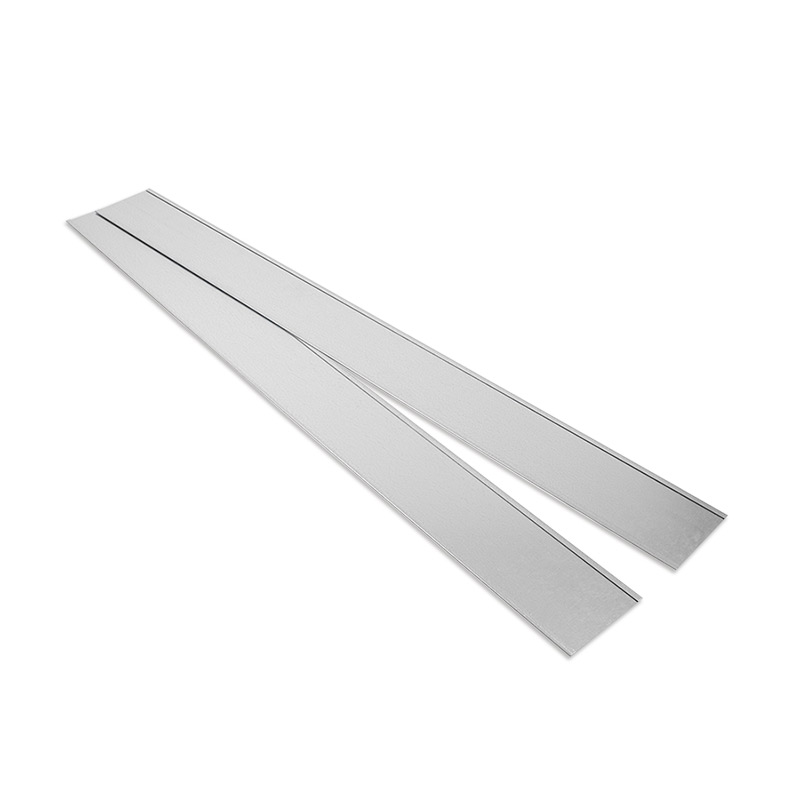
Length: 40 cm, 70 cm, 100 cm or 200 cm
Height: 20 cm
Thickness: 1 mm
Material: Steel, available with various finishes
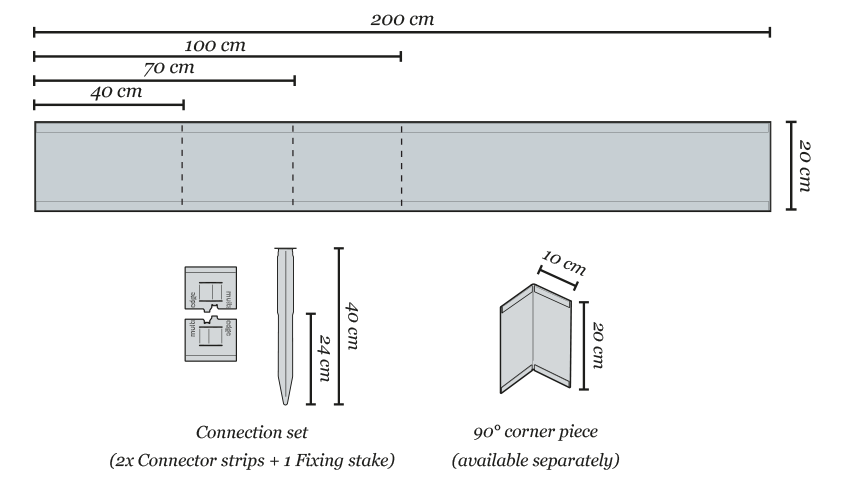
Each 2-metre profile comes with 3 connection sets.
Available in:
Rapid installation
Multi-Edge ADVANCE is very easy and quick to install, partly because the edging is very lightweight too. The individual profiles are attached together and secured in the ground using a connector strip and fixing stake. The connector strips can also be placed at any point in the profiles you choose (preferably at around 60/70cm) and secured in the ground using a fixing stake.
What are the differences between the different Multi-Edge edgings?
Are you doubting between our different metal edgings? In this video, we explain the differences!
Multi-Edge ADVANCE: the installation
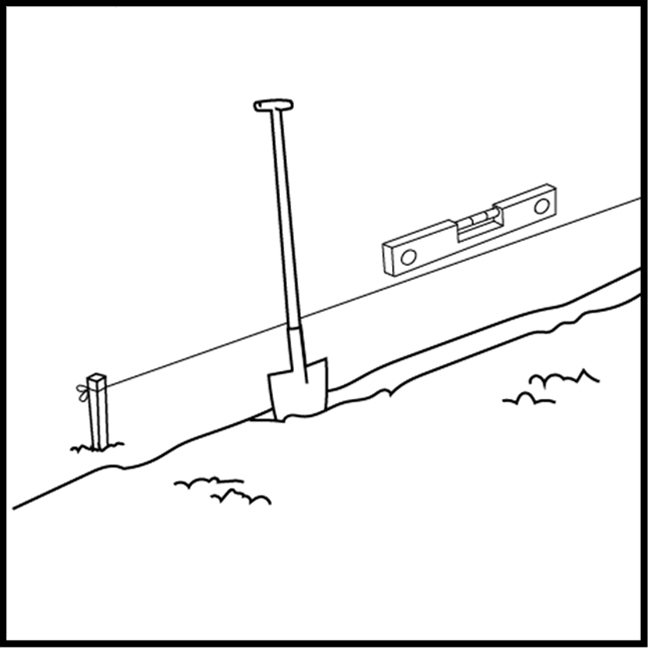
1. Mark out the line along which the Multi-Edge ADVANCE is to be installed with twine and pegs. Dig a channel at least 10 cm deep along that line.
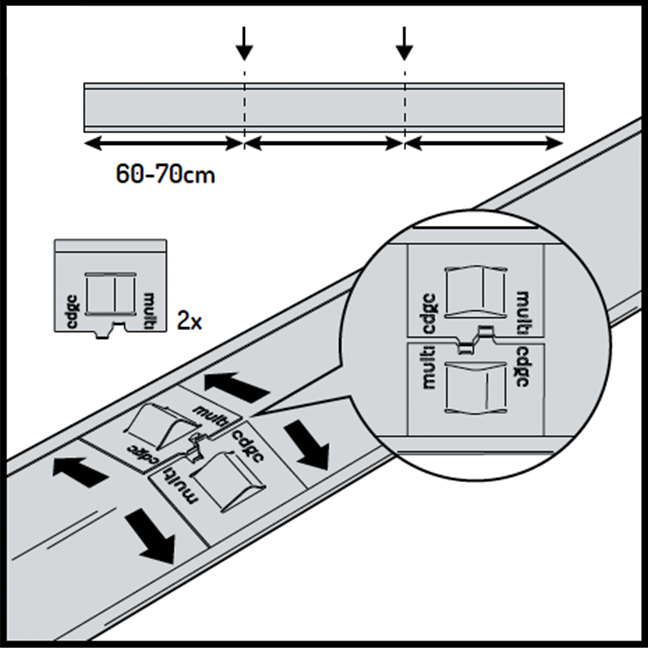
2. Before the profiles are installed in the soil, fit 2 connector strips at 60-70 cm intervals for attaching the fixing stakes to the profile. Do this by pushing a connector strips underneath the top and bottom edge of the profile. Make sure that the connector strips fit together.
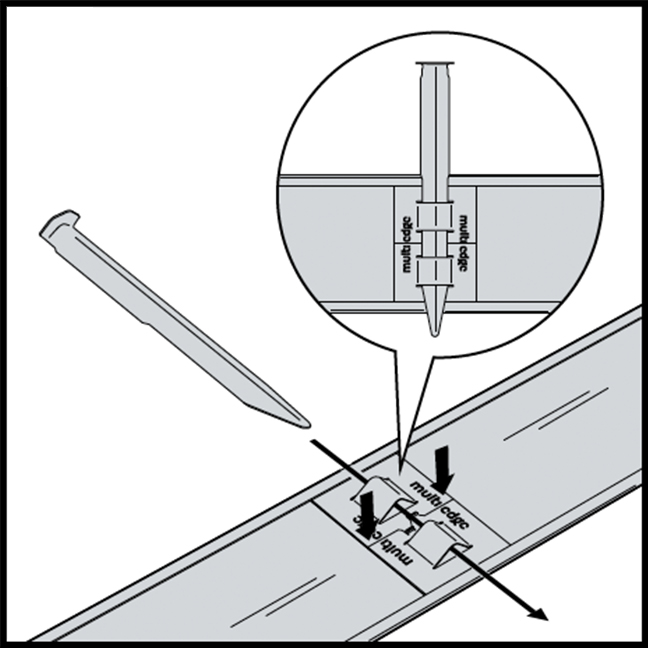
3. Press the connector strips against the profile. Push the fixing stake through the openings in the connector strips and leave half of the fixing stake protruding above the profile.
4. Place the profile loosely in the channel dug. Bend the profile by hand to create a curved contour. Bend the profile around a solid object (e.g. the edge of a workbench) to create an angle. Or use the optional corner pieces (step 6). Cut off any excess length using a grinder or metal saw.
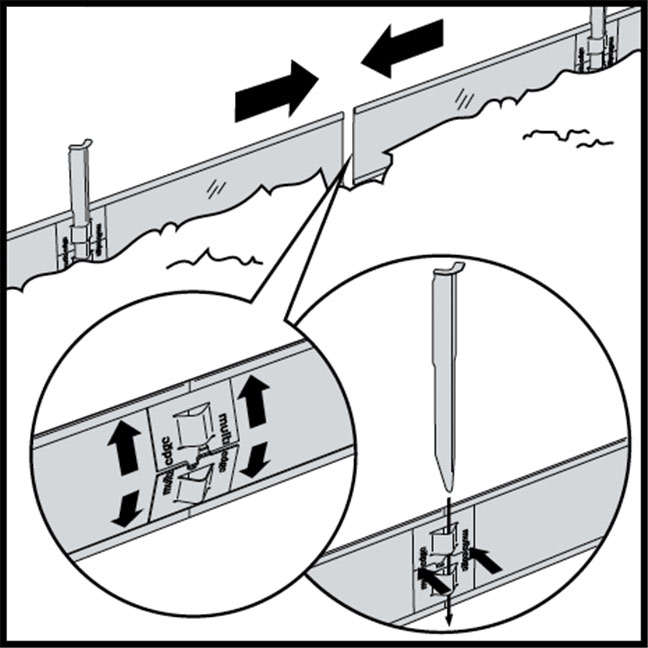
5. Widen the channel dug at the ends of the profiles if necessary. Push the connector strips under the top and bottom edge of the profile. Press the connector strips against the profile and push the fixing stake through the openings in the connector strips. Leave half of the fixing stake protruding above the profile.
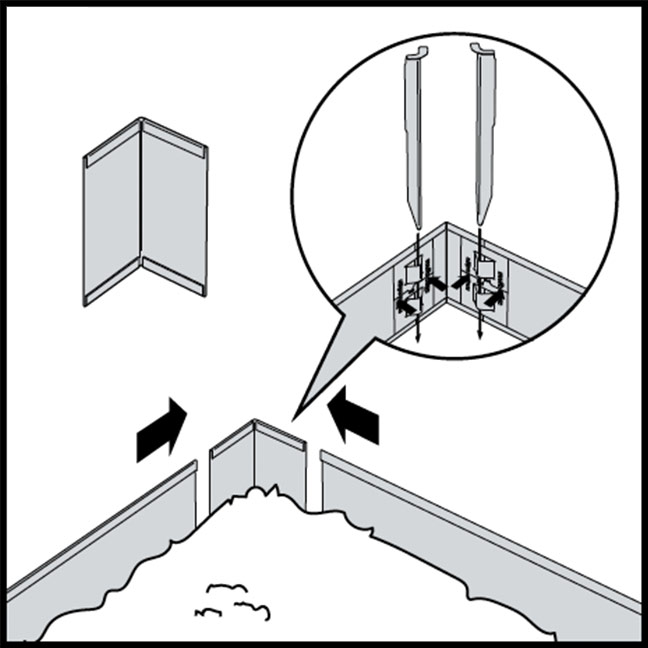
6. For extra neat 90° angles, use the optional corner pieces. Connect the corner pieces to the profiles using the connector strips. Press the connector strips against the profile and push the fixing stake through the openings in the connector strips, leaving half of the fixing stake protruding above the edging profile.
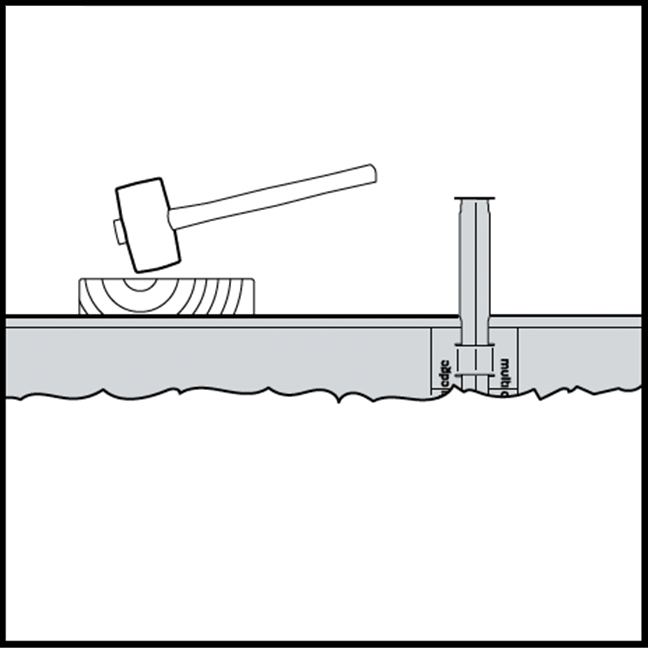
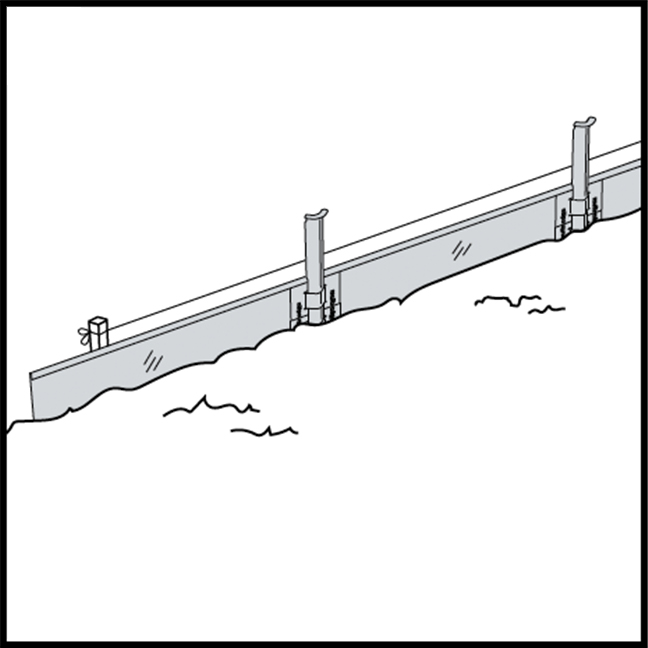
7. Gently tap down the profiles to the desired height. Use a wooden block to avoid damaging the profiles. For stability, leave no more than 10 cm of the profile protruding above the surface of the soil.
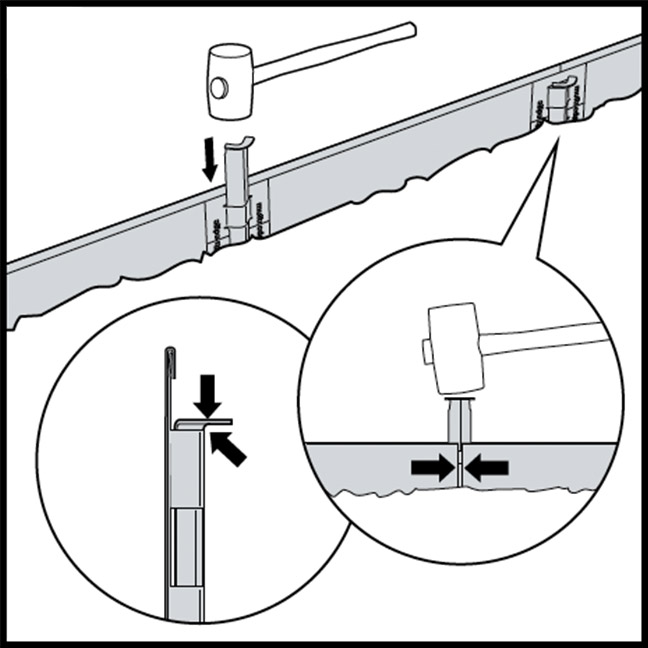
8. Gently tap all the fixing stakes into the soil with a hammer until the top comes into contact with the connector strips. Close the seams at the ends of the profiles and corner pieces by pressing the ends together and then gently push the fixing stake into the soil.
9. Backfill the channel with soil, sand or another material. Then lay grass, gravel or another type of ground cover up to the edging.