
Flexible edging:
One product, endless possibilities
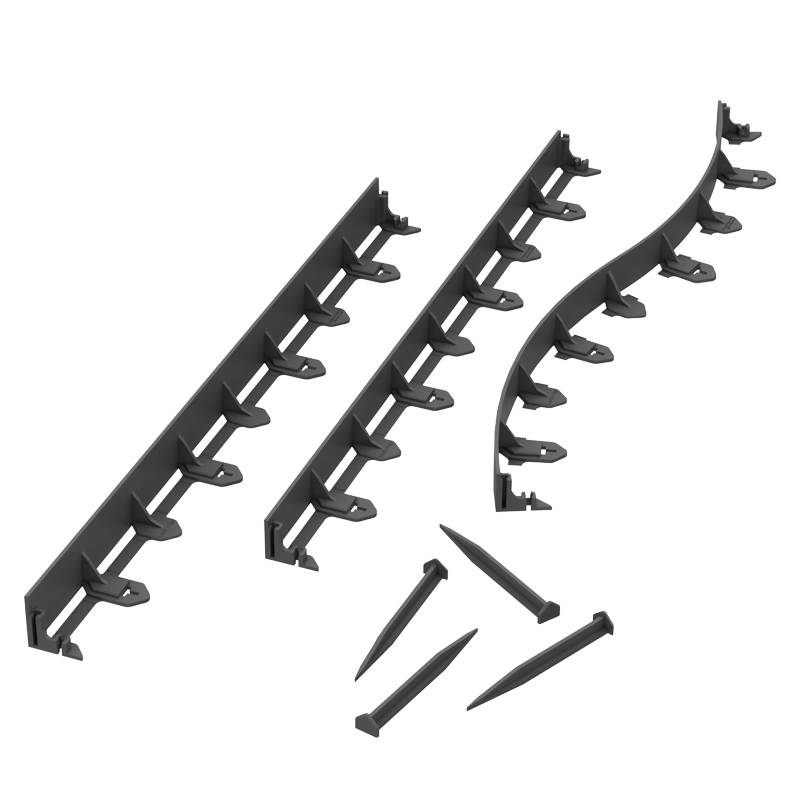
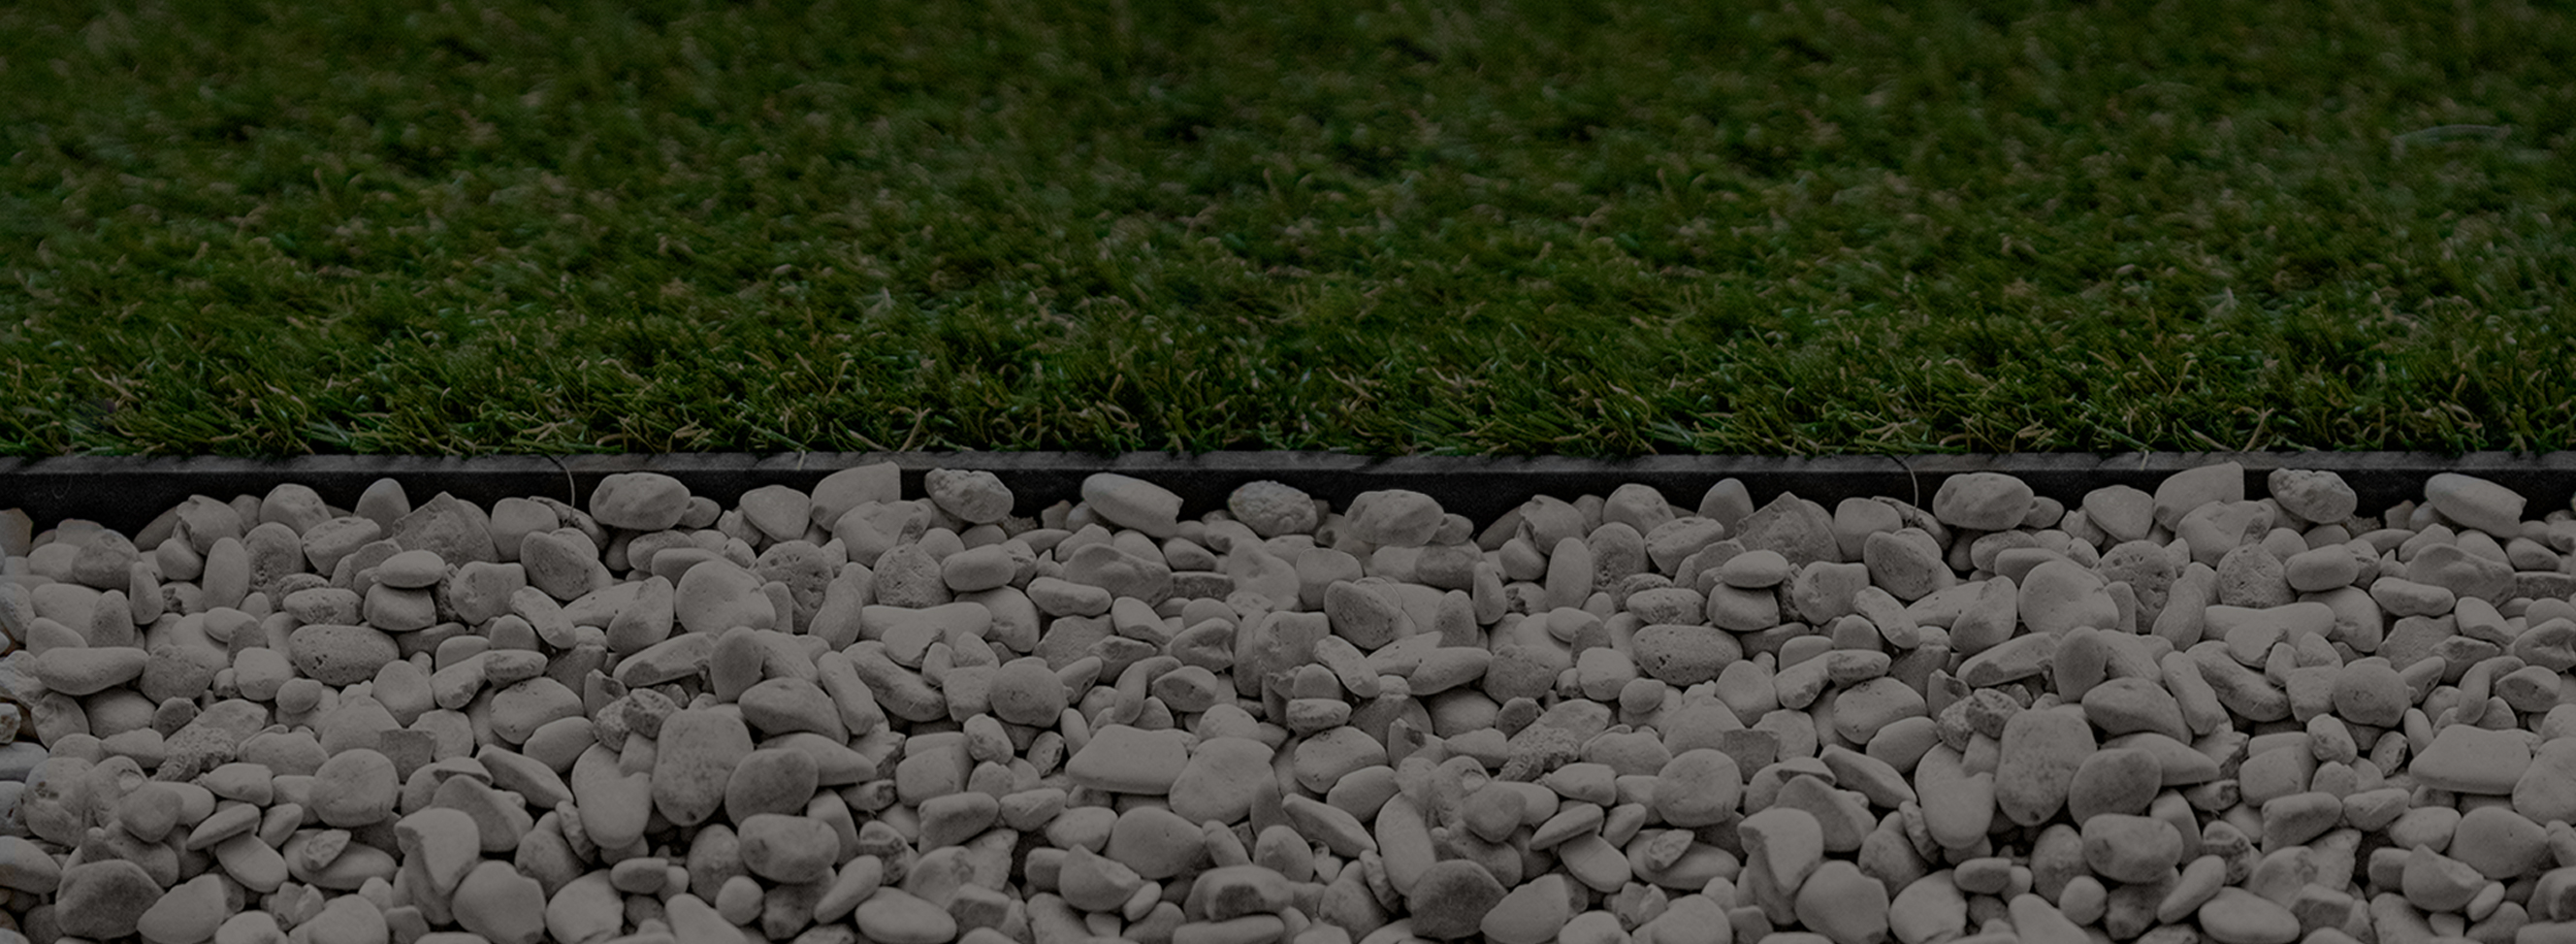
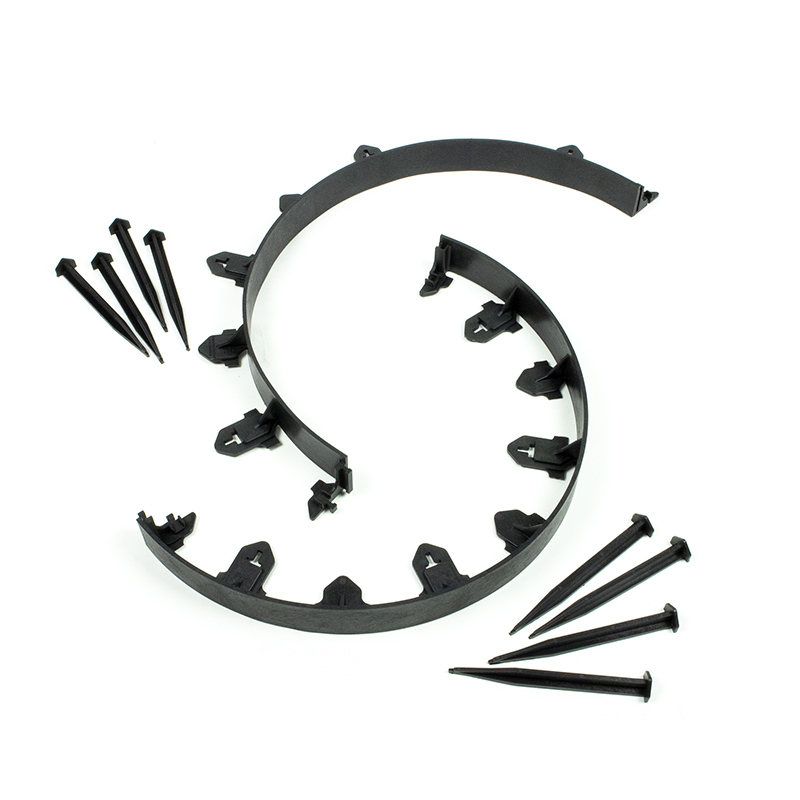
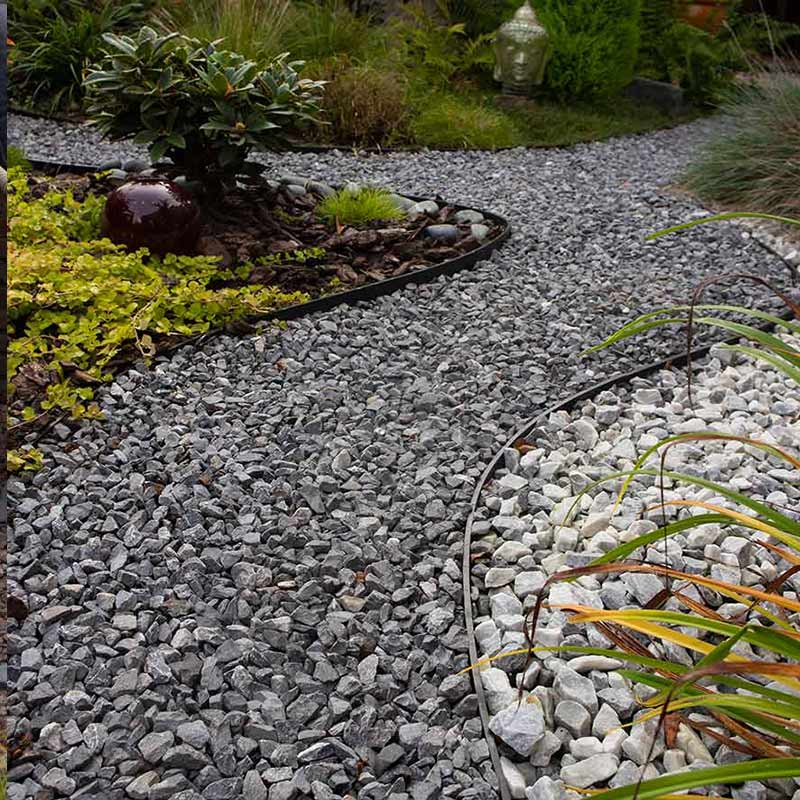
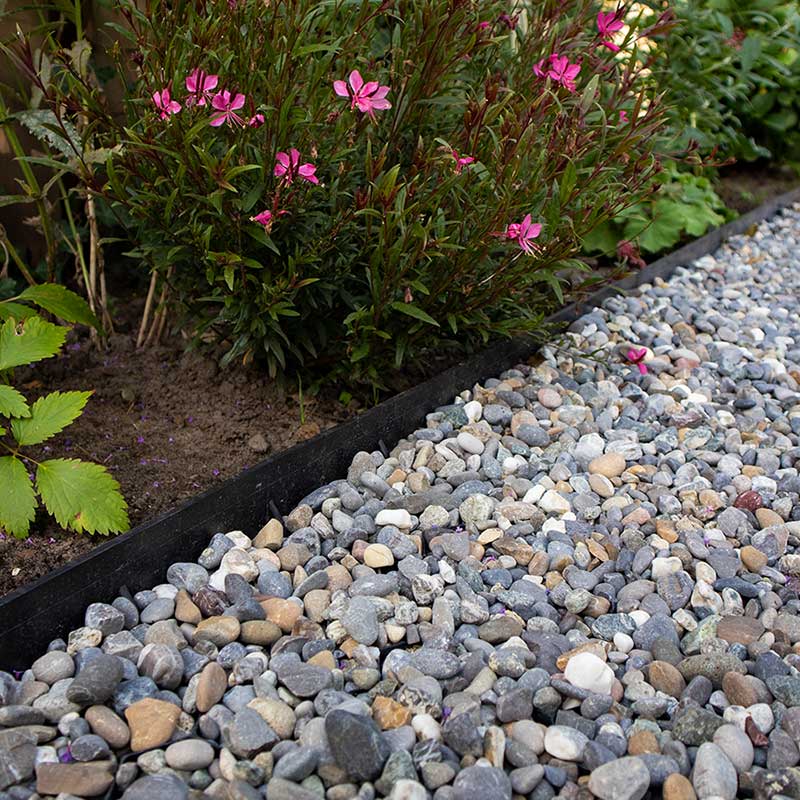
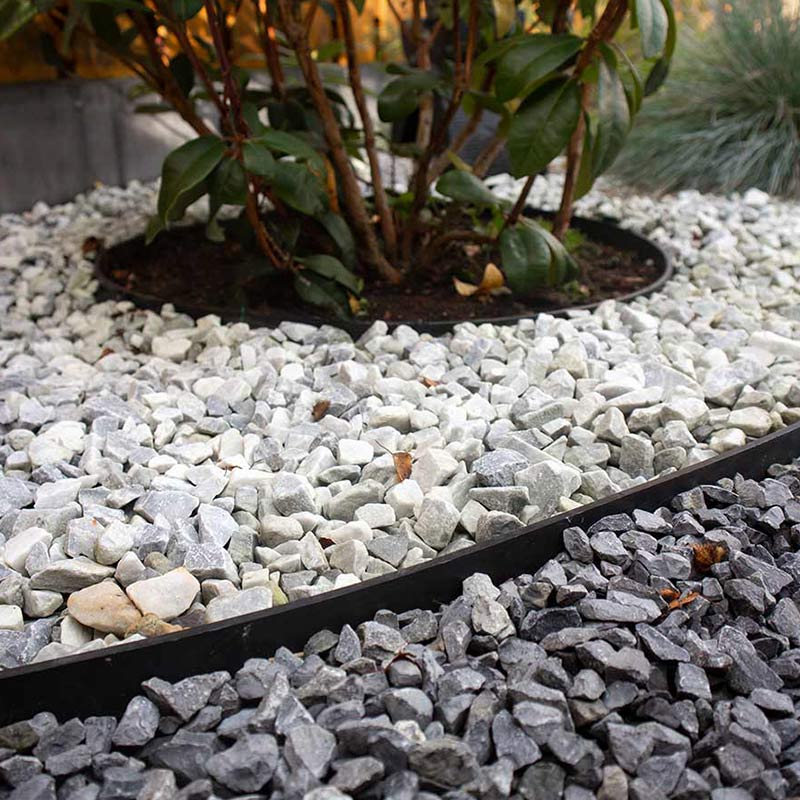
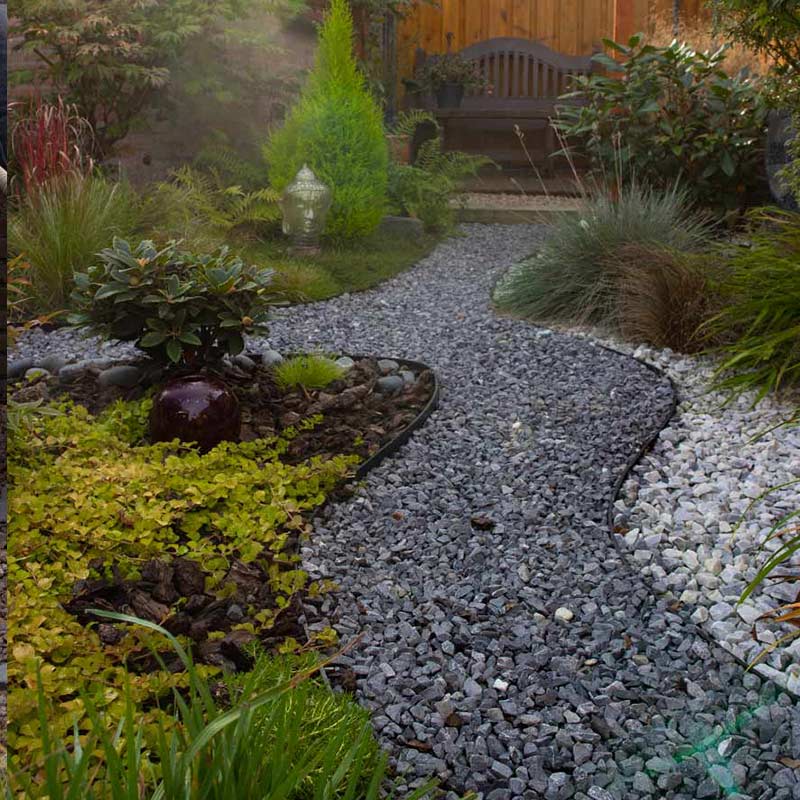
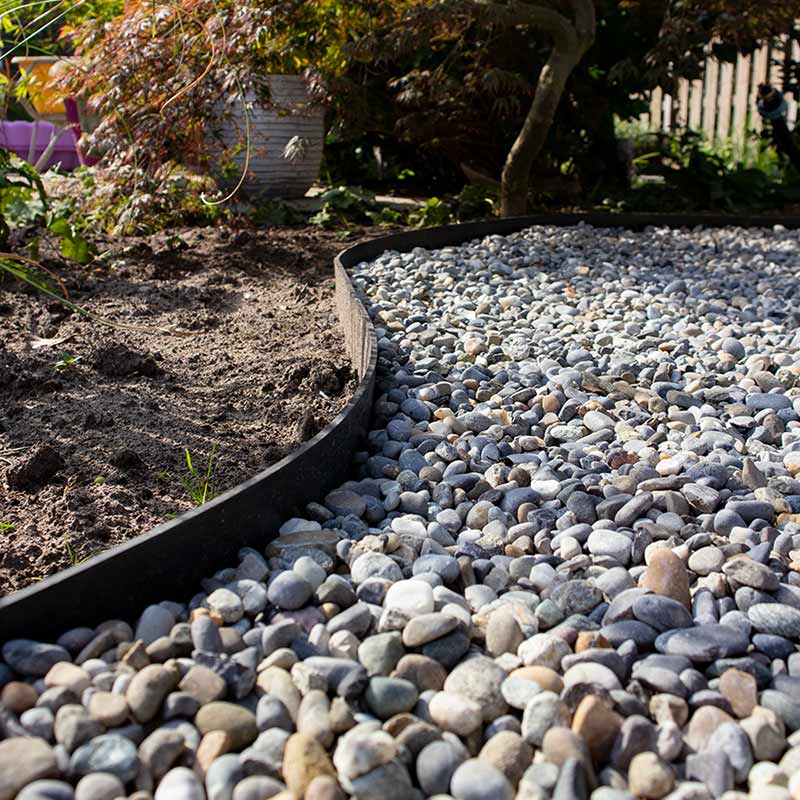
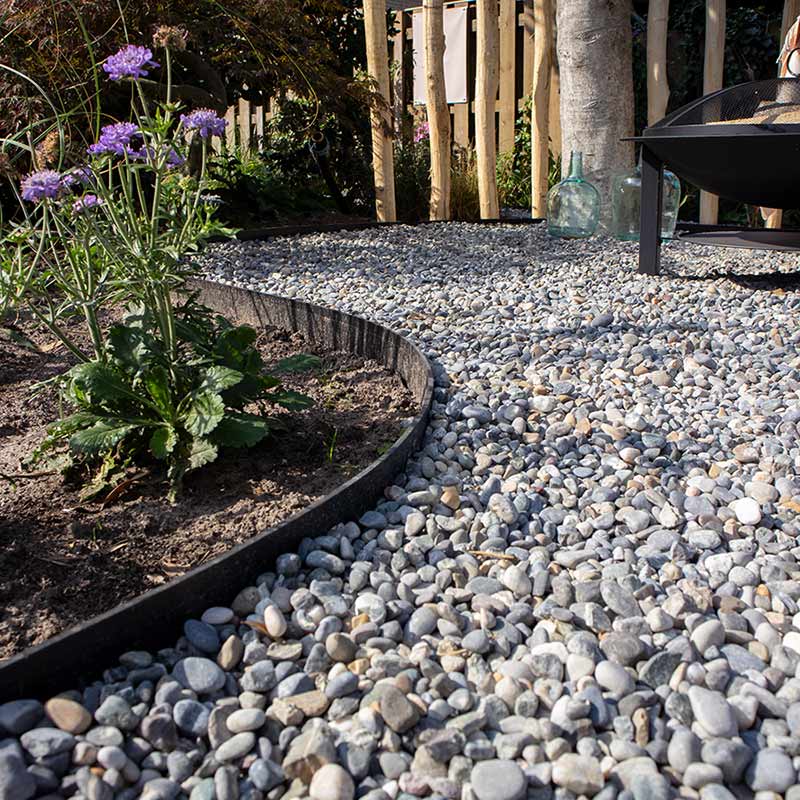
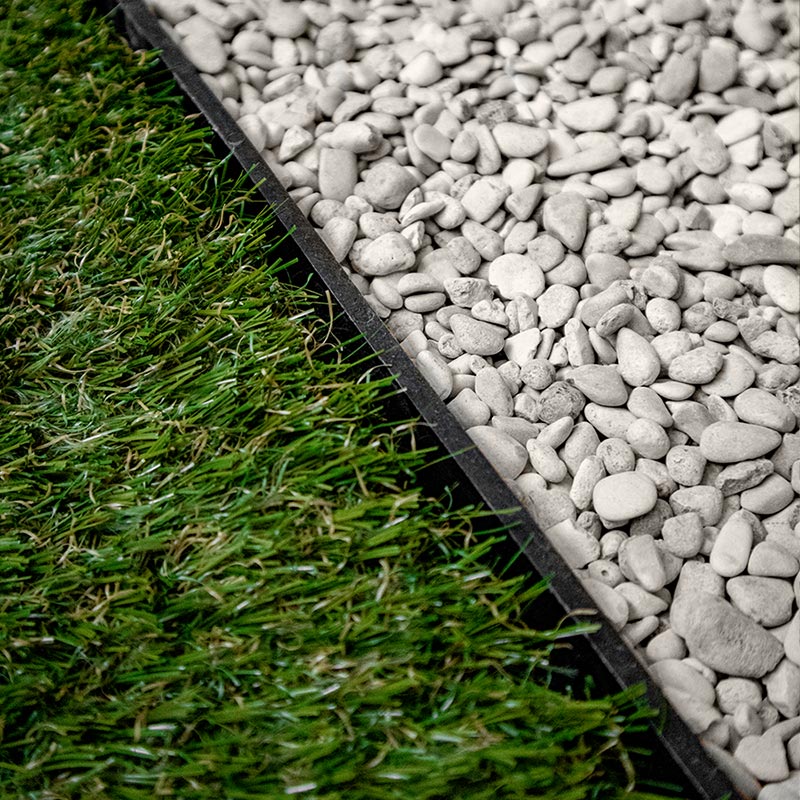
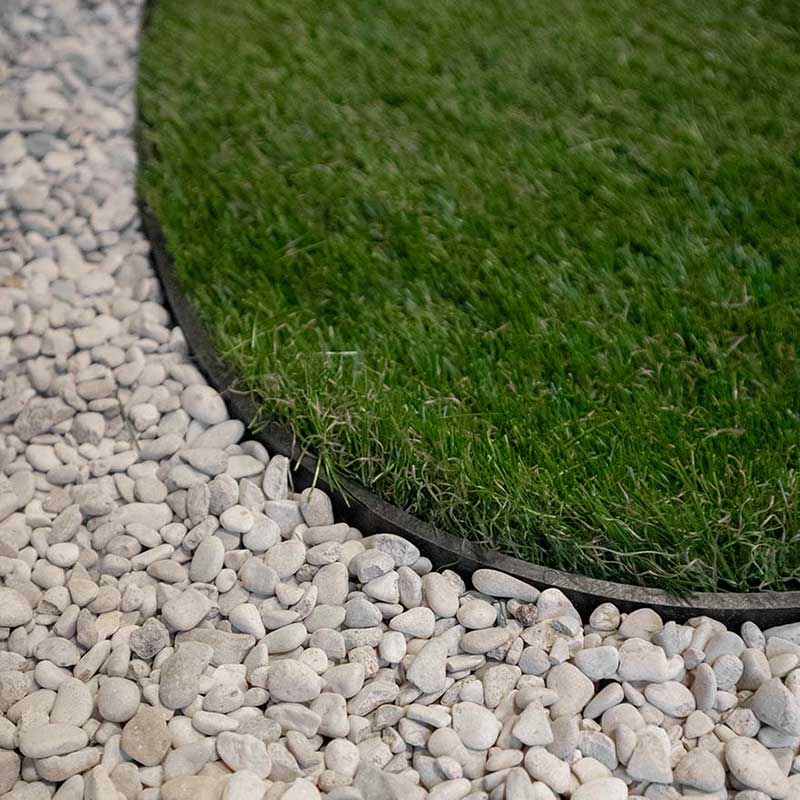
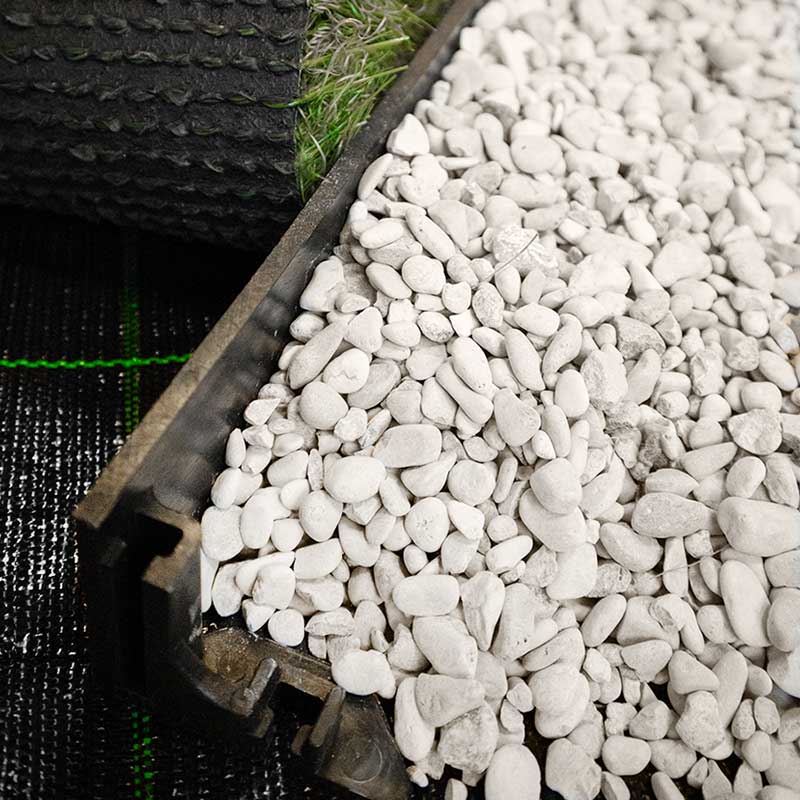
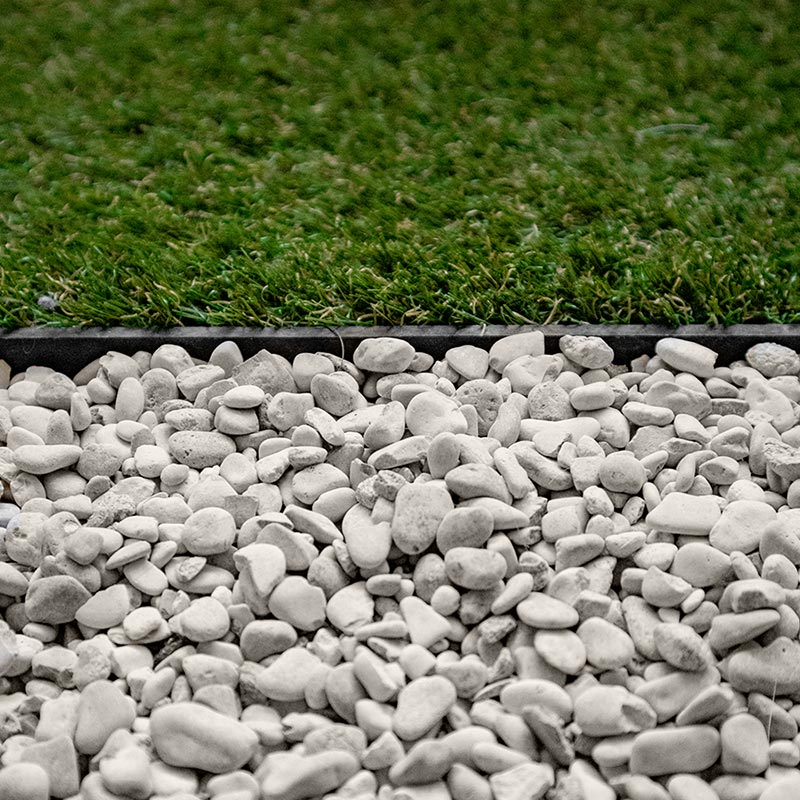
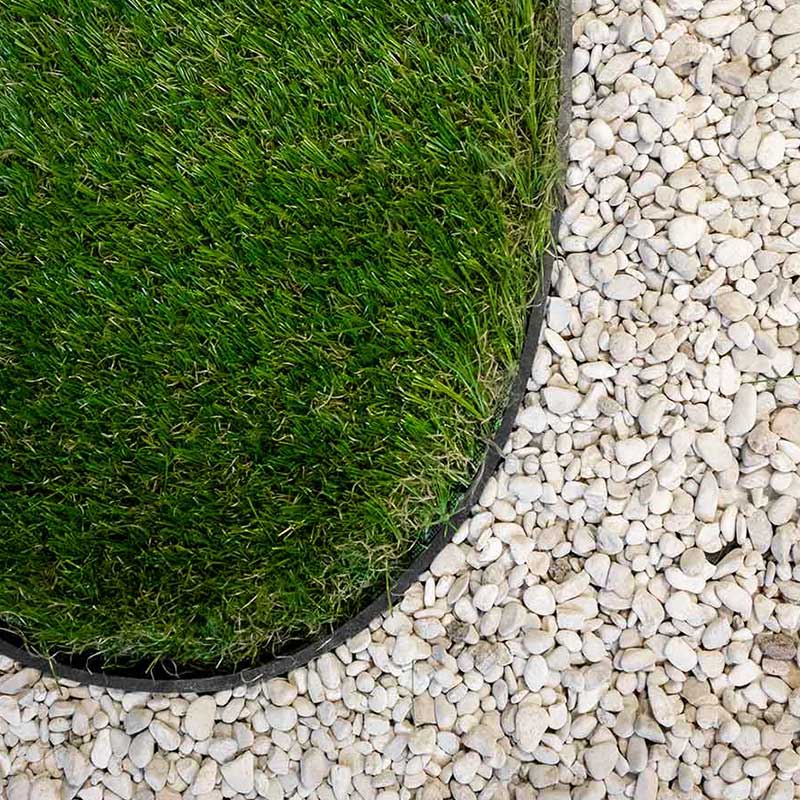
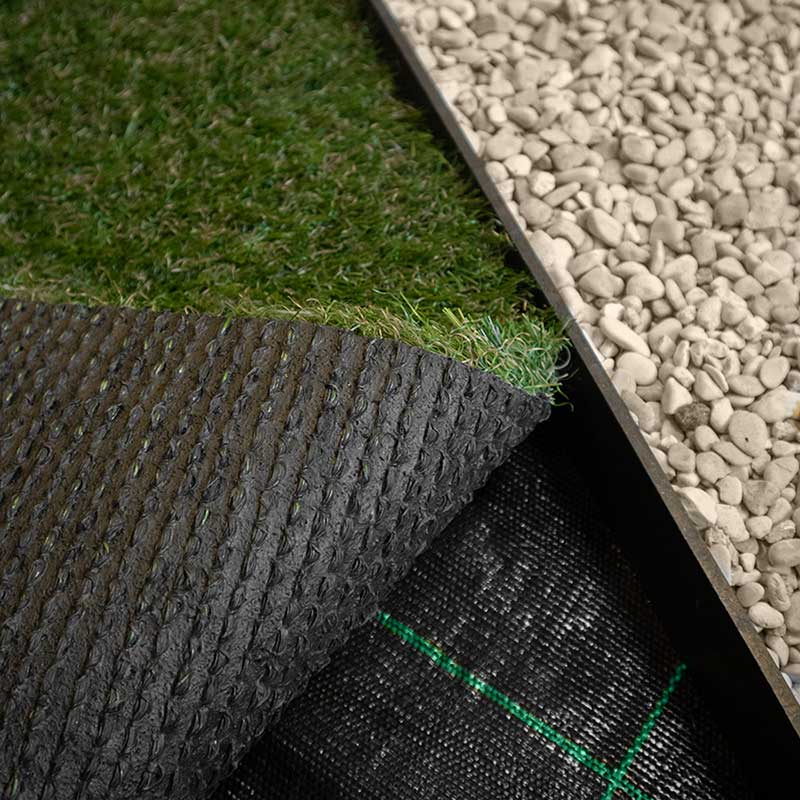
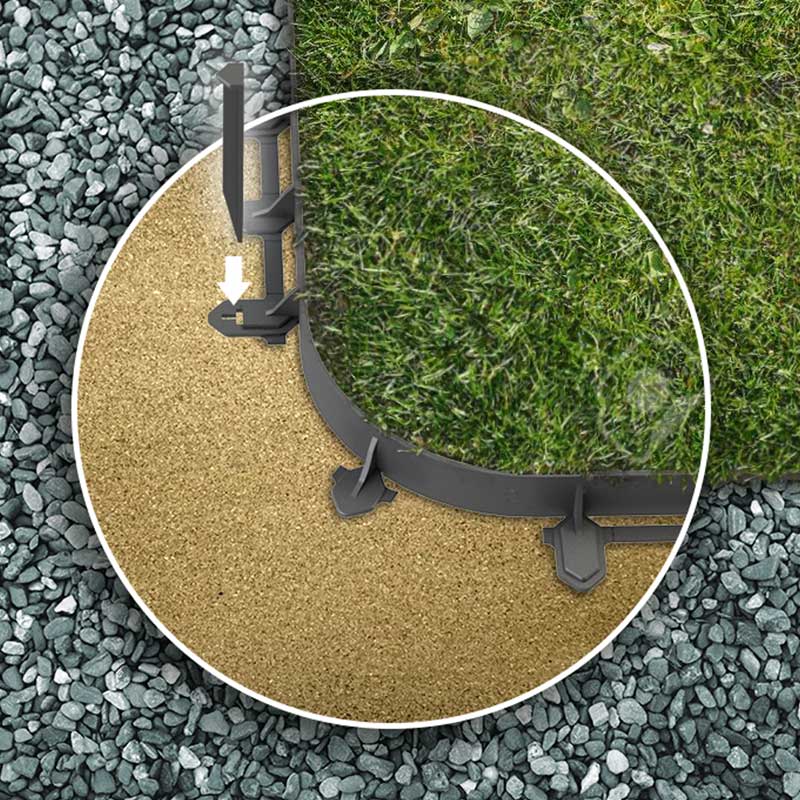
Multi-Edge FLEX is economical flexible edging made from recycled plastic. It quickly creates a neat, high-quality finish to the edges in your garden. The clever design means you can make either straight, wavy, or round shapes. Whether as an edging between plants and the lawn, or between a gravel path and the terrace, Multi-Edge FLEX is an inexpensive and highly versatile solution. It’s also very easy to install with the supplied soil pegs. These soil pegs only need to be driven into the soil in the designated places to attach the edging firmly to the ground. The Multi-Edge FLEX is also suitable for delimiting a driveway.
From straight to round in two sizes
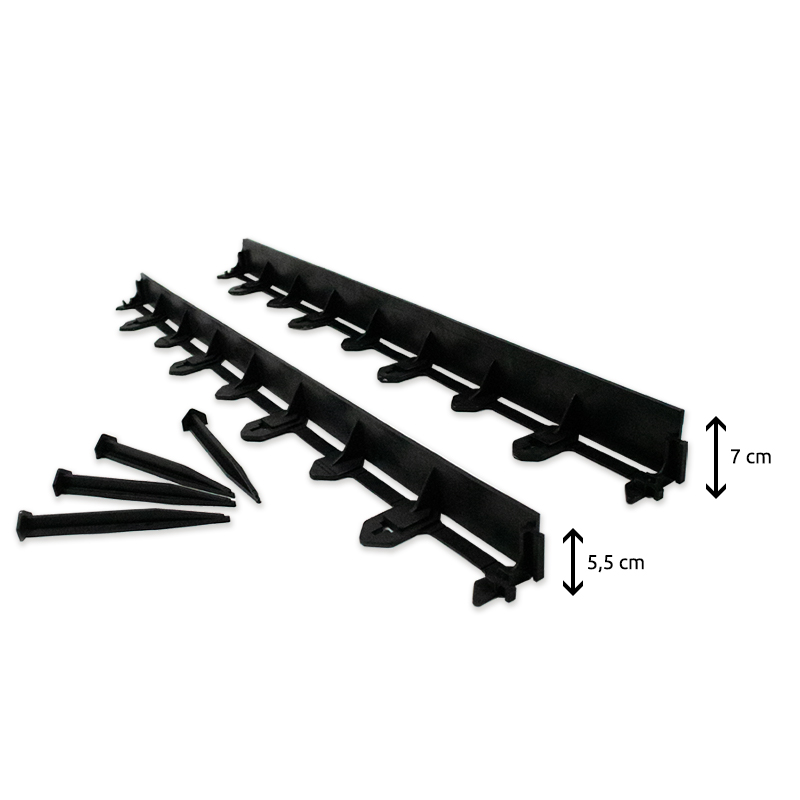
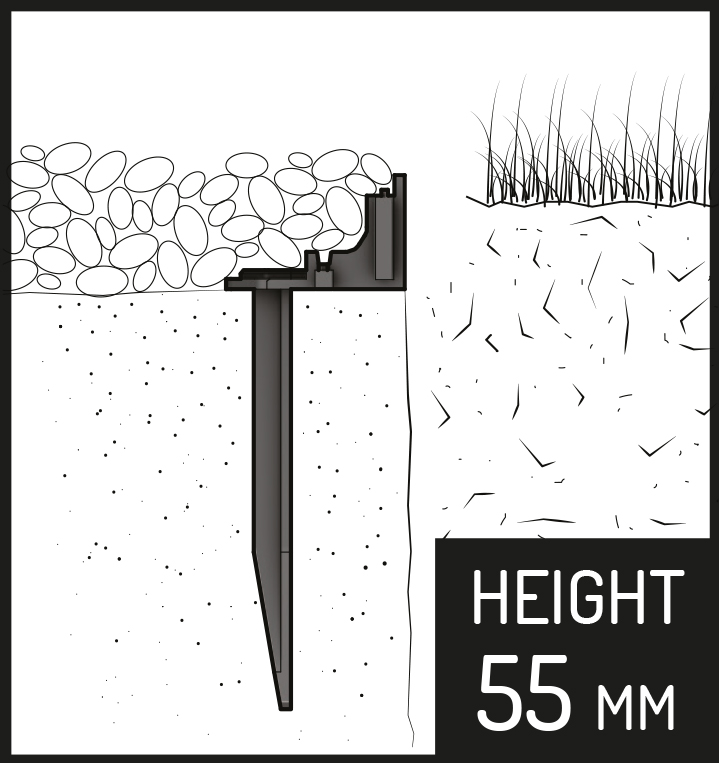
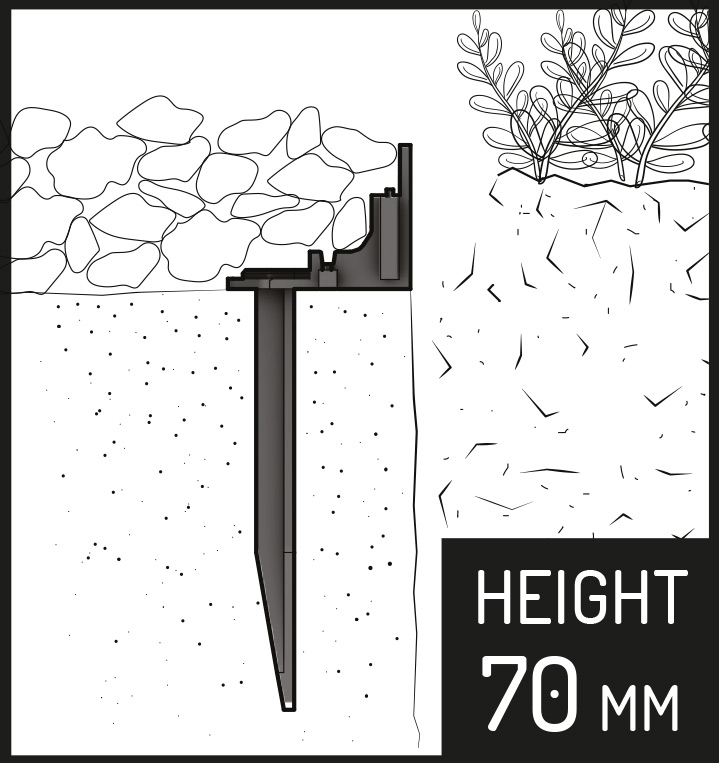
Multi-Edge FLEX’s unique design sets it apart from other types of edging. It means it can be made into straight geometric edging, or smooth curves. Even making circles is simple. Depending on the application and the thickness of the ground cover layer (such as gravel), you can choose from two heights: 55 mm (5.5 cm) or 70 mm (7.0 cm).
Advantages of
Multi-Edge FLEX
Perfect for straight and curved contours
Stable and very flexible
Very versatile
Visually invisible after installation
High quality with a long service life
Made from recycled plastic
Good value
Multi-Edge FLEX

Specifications:
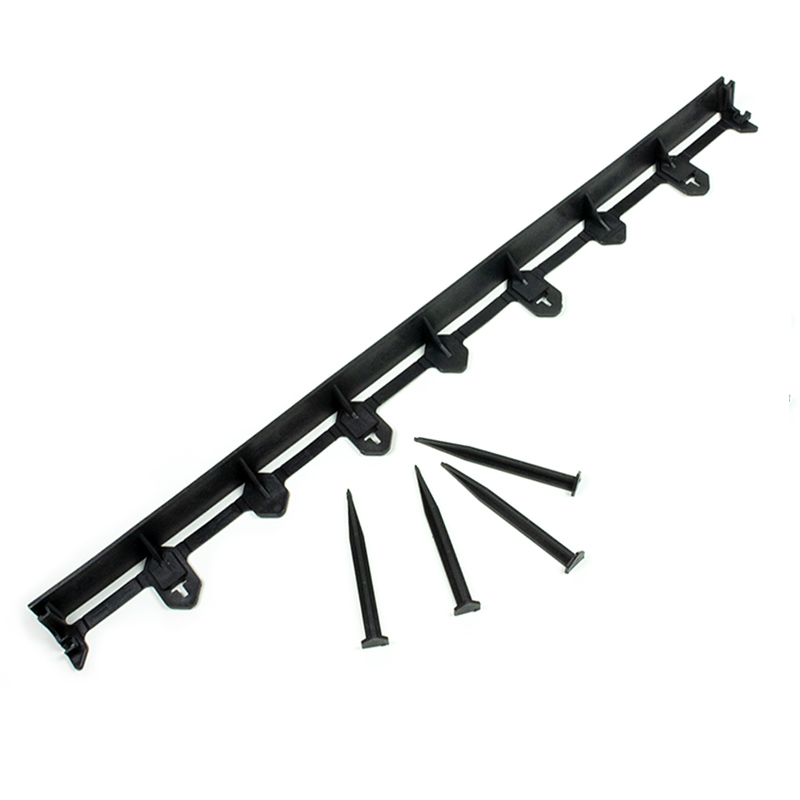
Length: 1 metre
Height: 5.5 cm or 7.0 cm
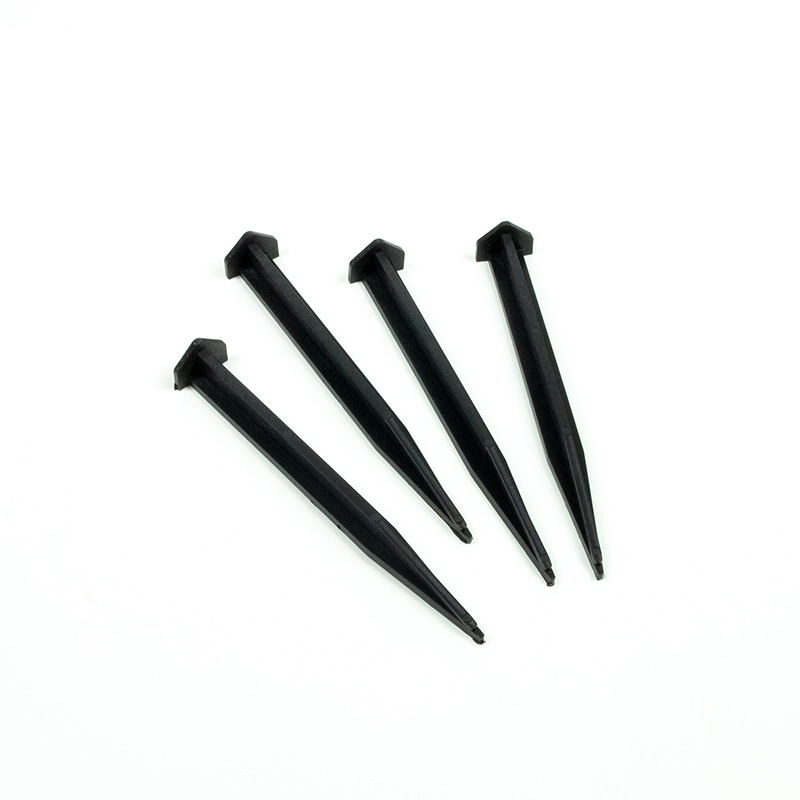
Pegs for securing the edging are included: 4 pegs per metre.
Thickness: 0.5 cm
Material: Recycled plastic
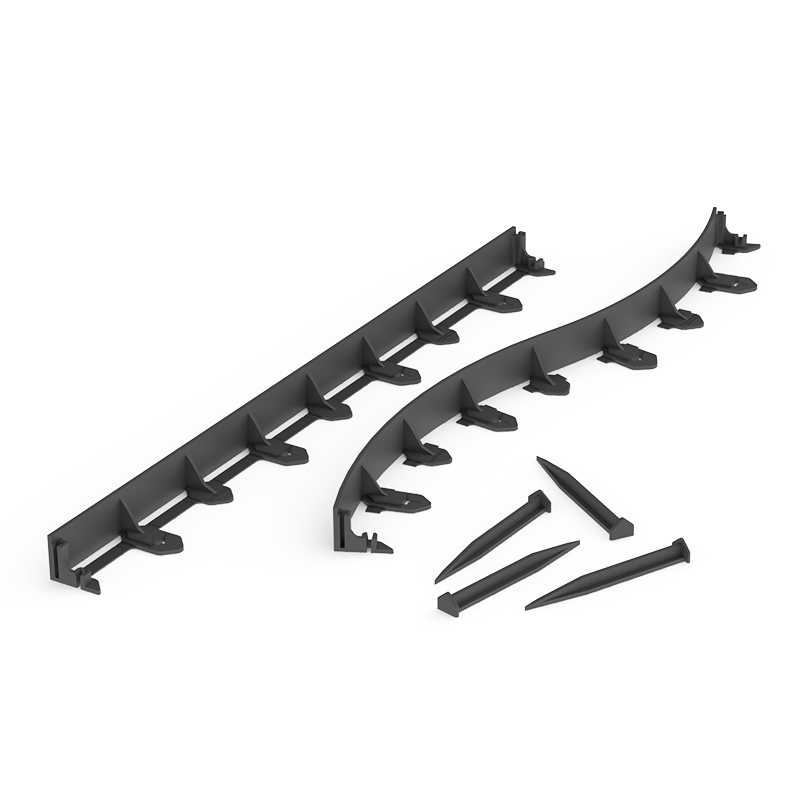
Supplied in: set of 2
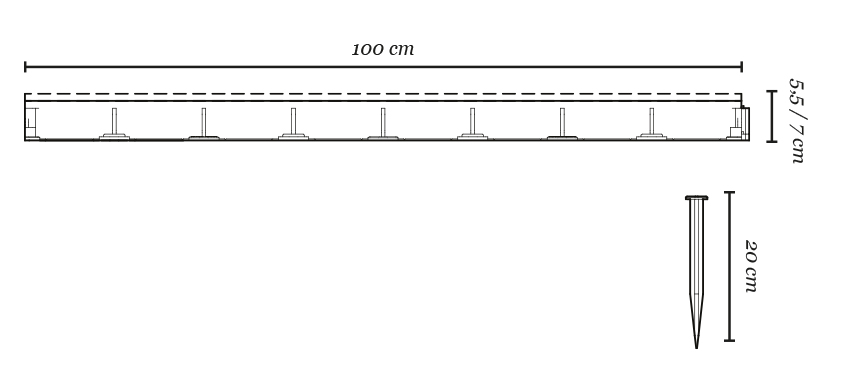
Each 1-metre edging section is supplied with 4 pegs.
Available in:
Rapid installation
The pegs for fixing Multi-Edge FLEX in the ground are included. These can be driven into the soil through the holes designed for the purpose. FLEX sections can be connected to each other in a single movement. The connectors can be cut with pliers to create smooth shapes, curves and circles.
Multi-Edge FLEX: the installation
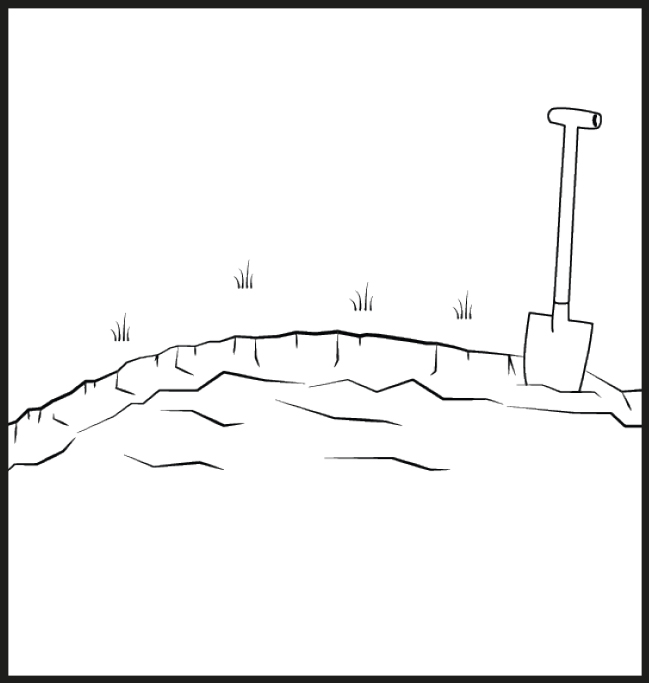
1. Preparing
Indicate your desired contour and level the soil. Use a spade to cut a lawn edging.
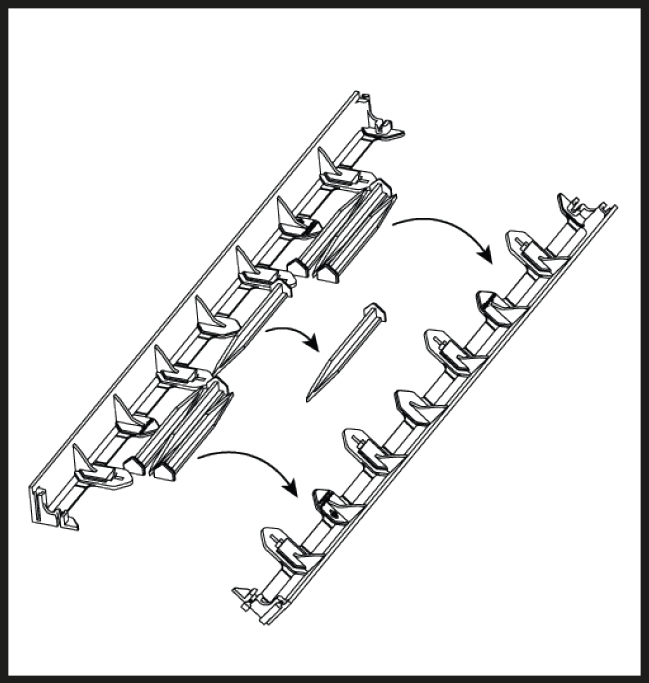
2. Separating
Break the edging sections and pins apart.
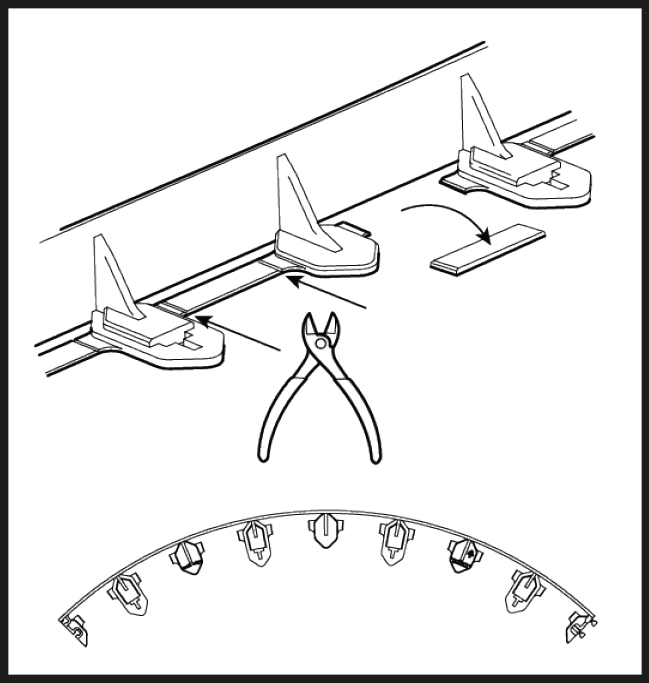
3. Reshaping
Use a wire cutter to remove the connecting pieces if making a curved contour.
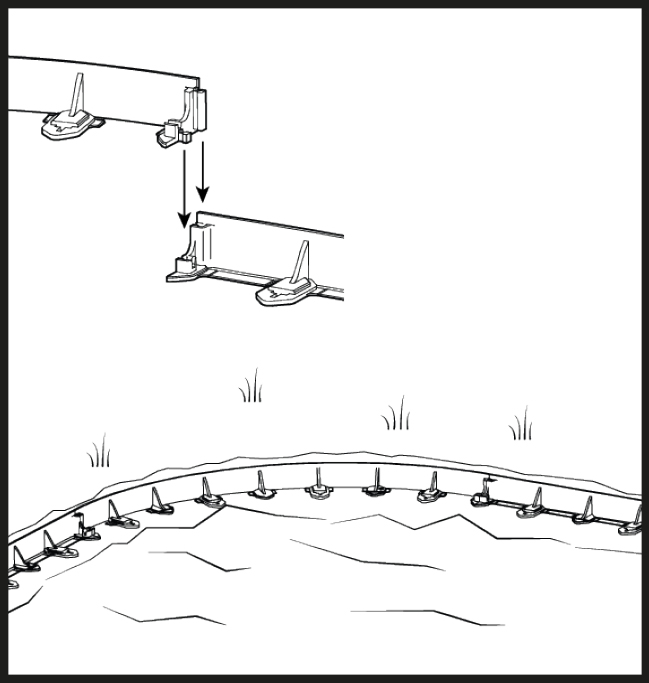
4. Inserting
Insert the edging material in the right place. Slide the ends of the edging sections into each other to connect them. Any surplus length can be removed with a handsaw for wood.
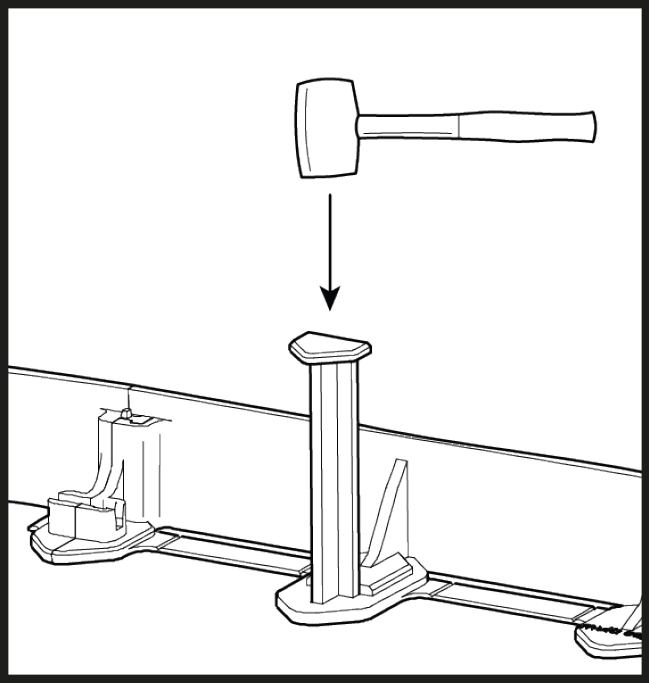
5. Pegs
Use a hammer to tap the pegs carefully into the soil. Use all the pegs supplied to ensure the stability of the edging material.

6. Finishing
Finish by filling the gap next to the edging sections with the desired material. Add as much material as it takes to cover the edging sections but leave a few millimetres protruding above the surface.